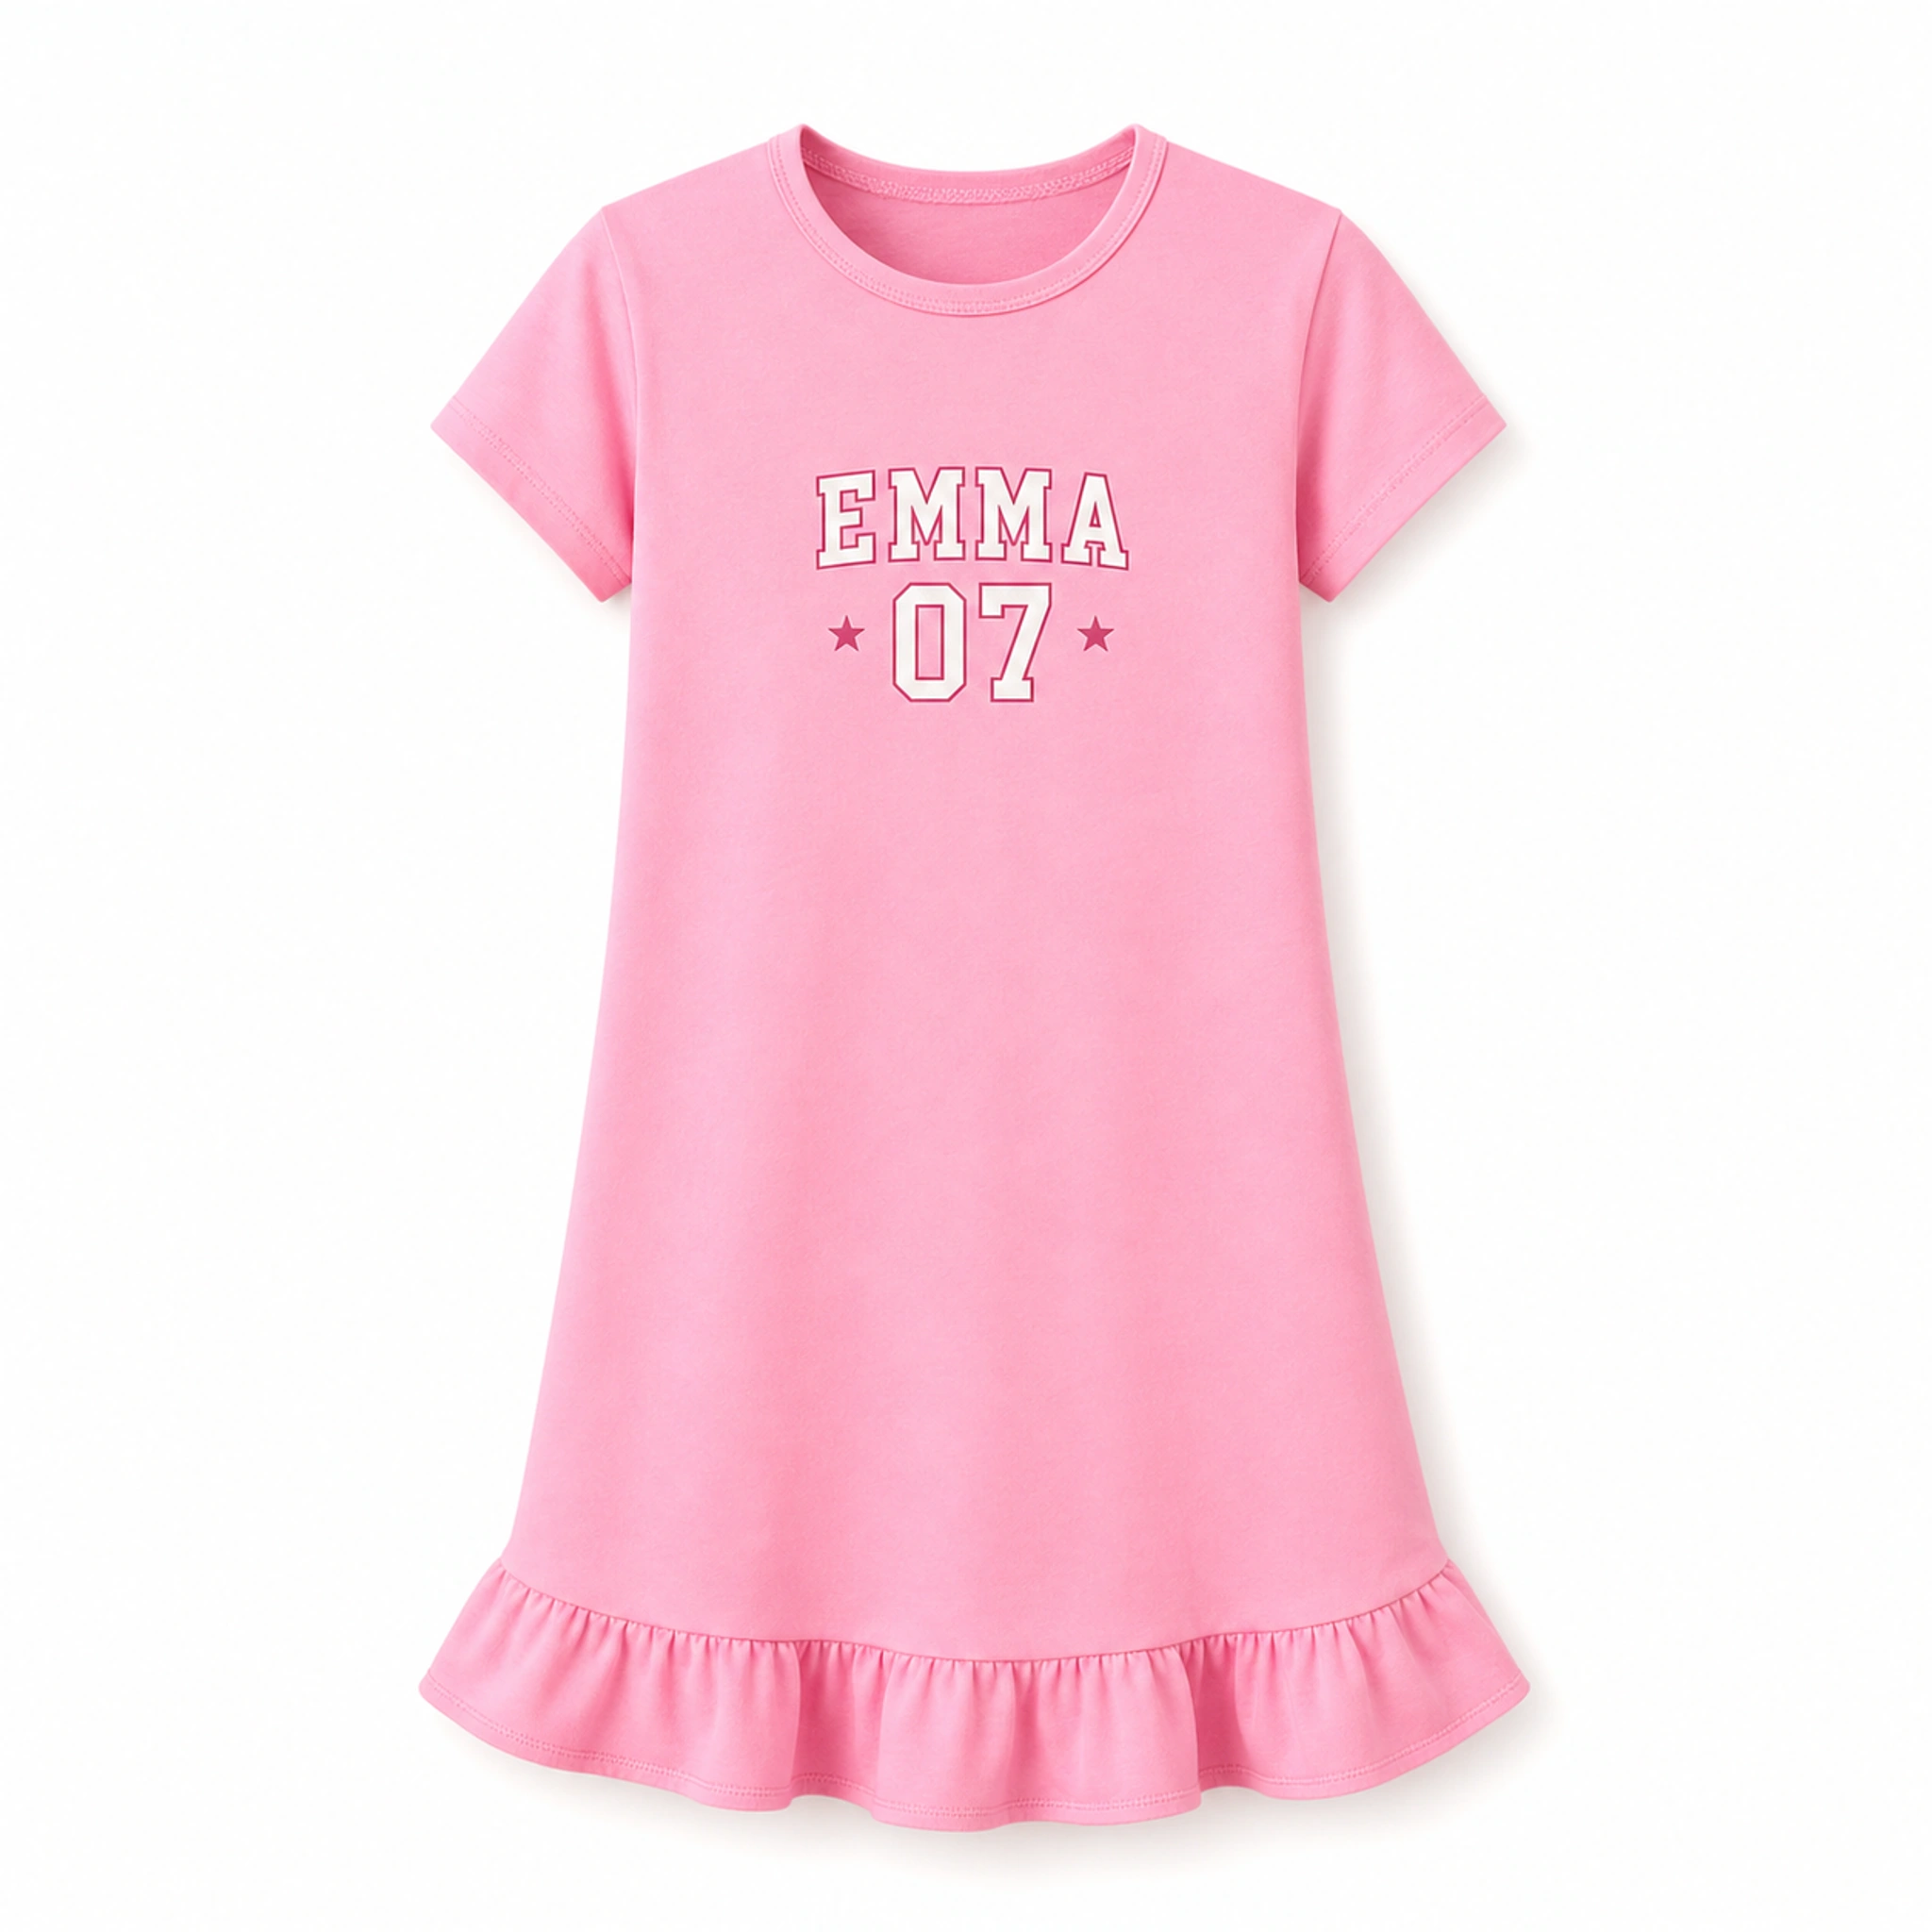
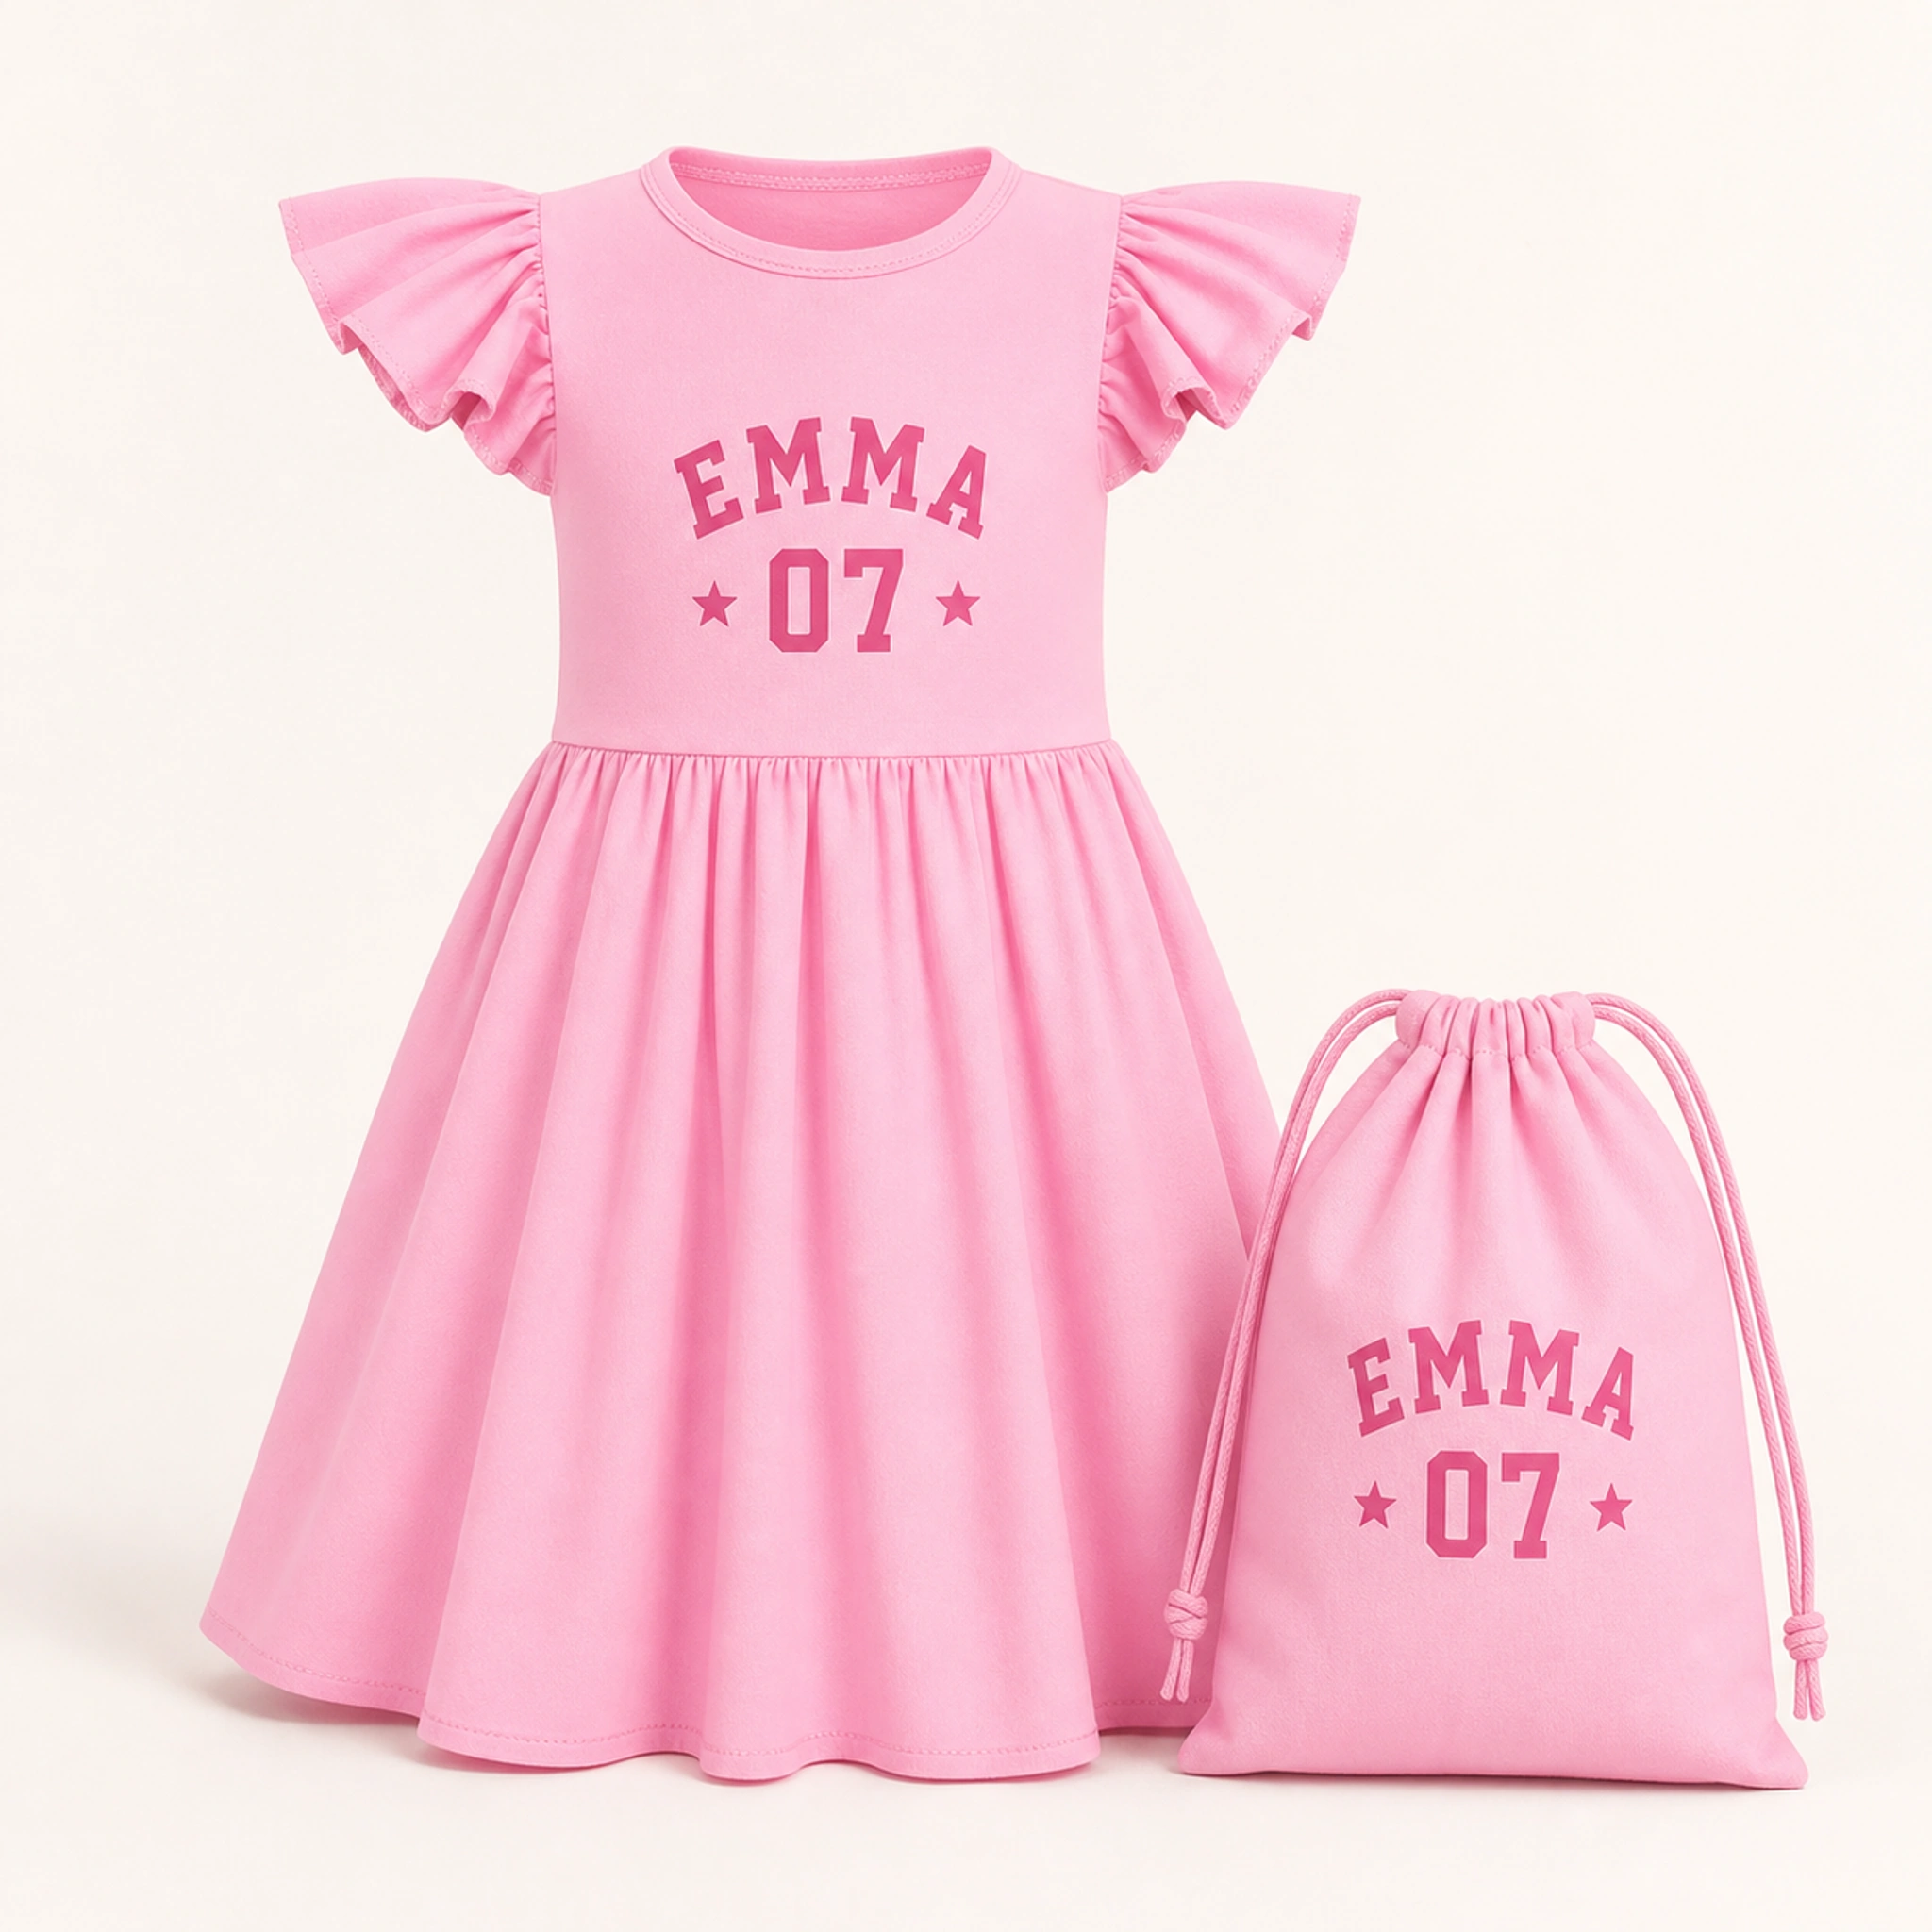
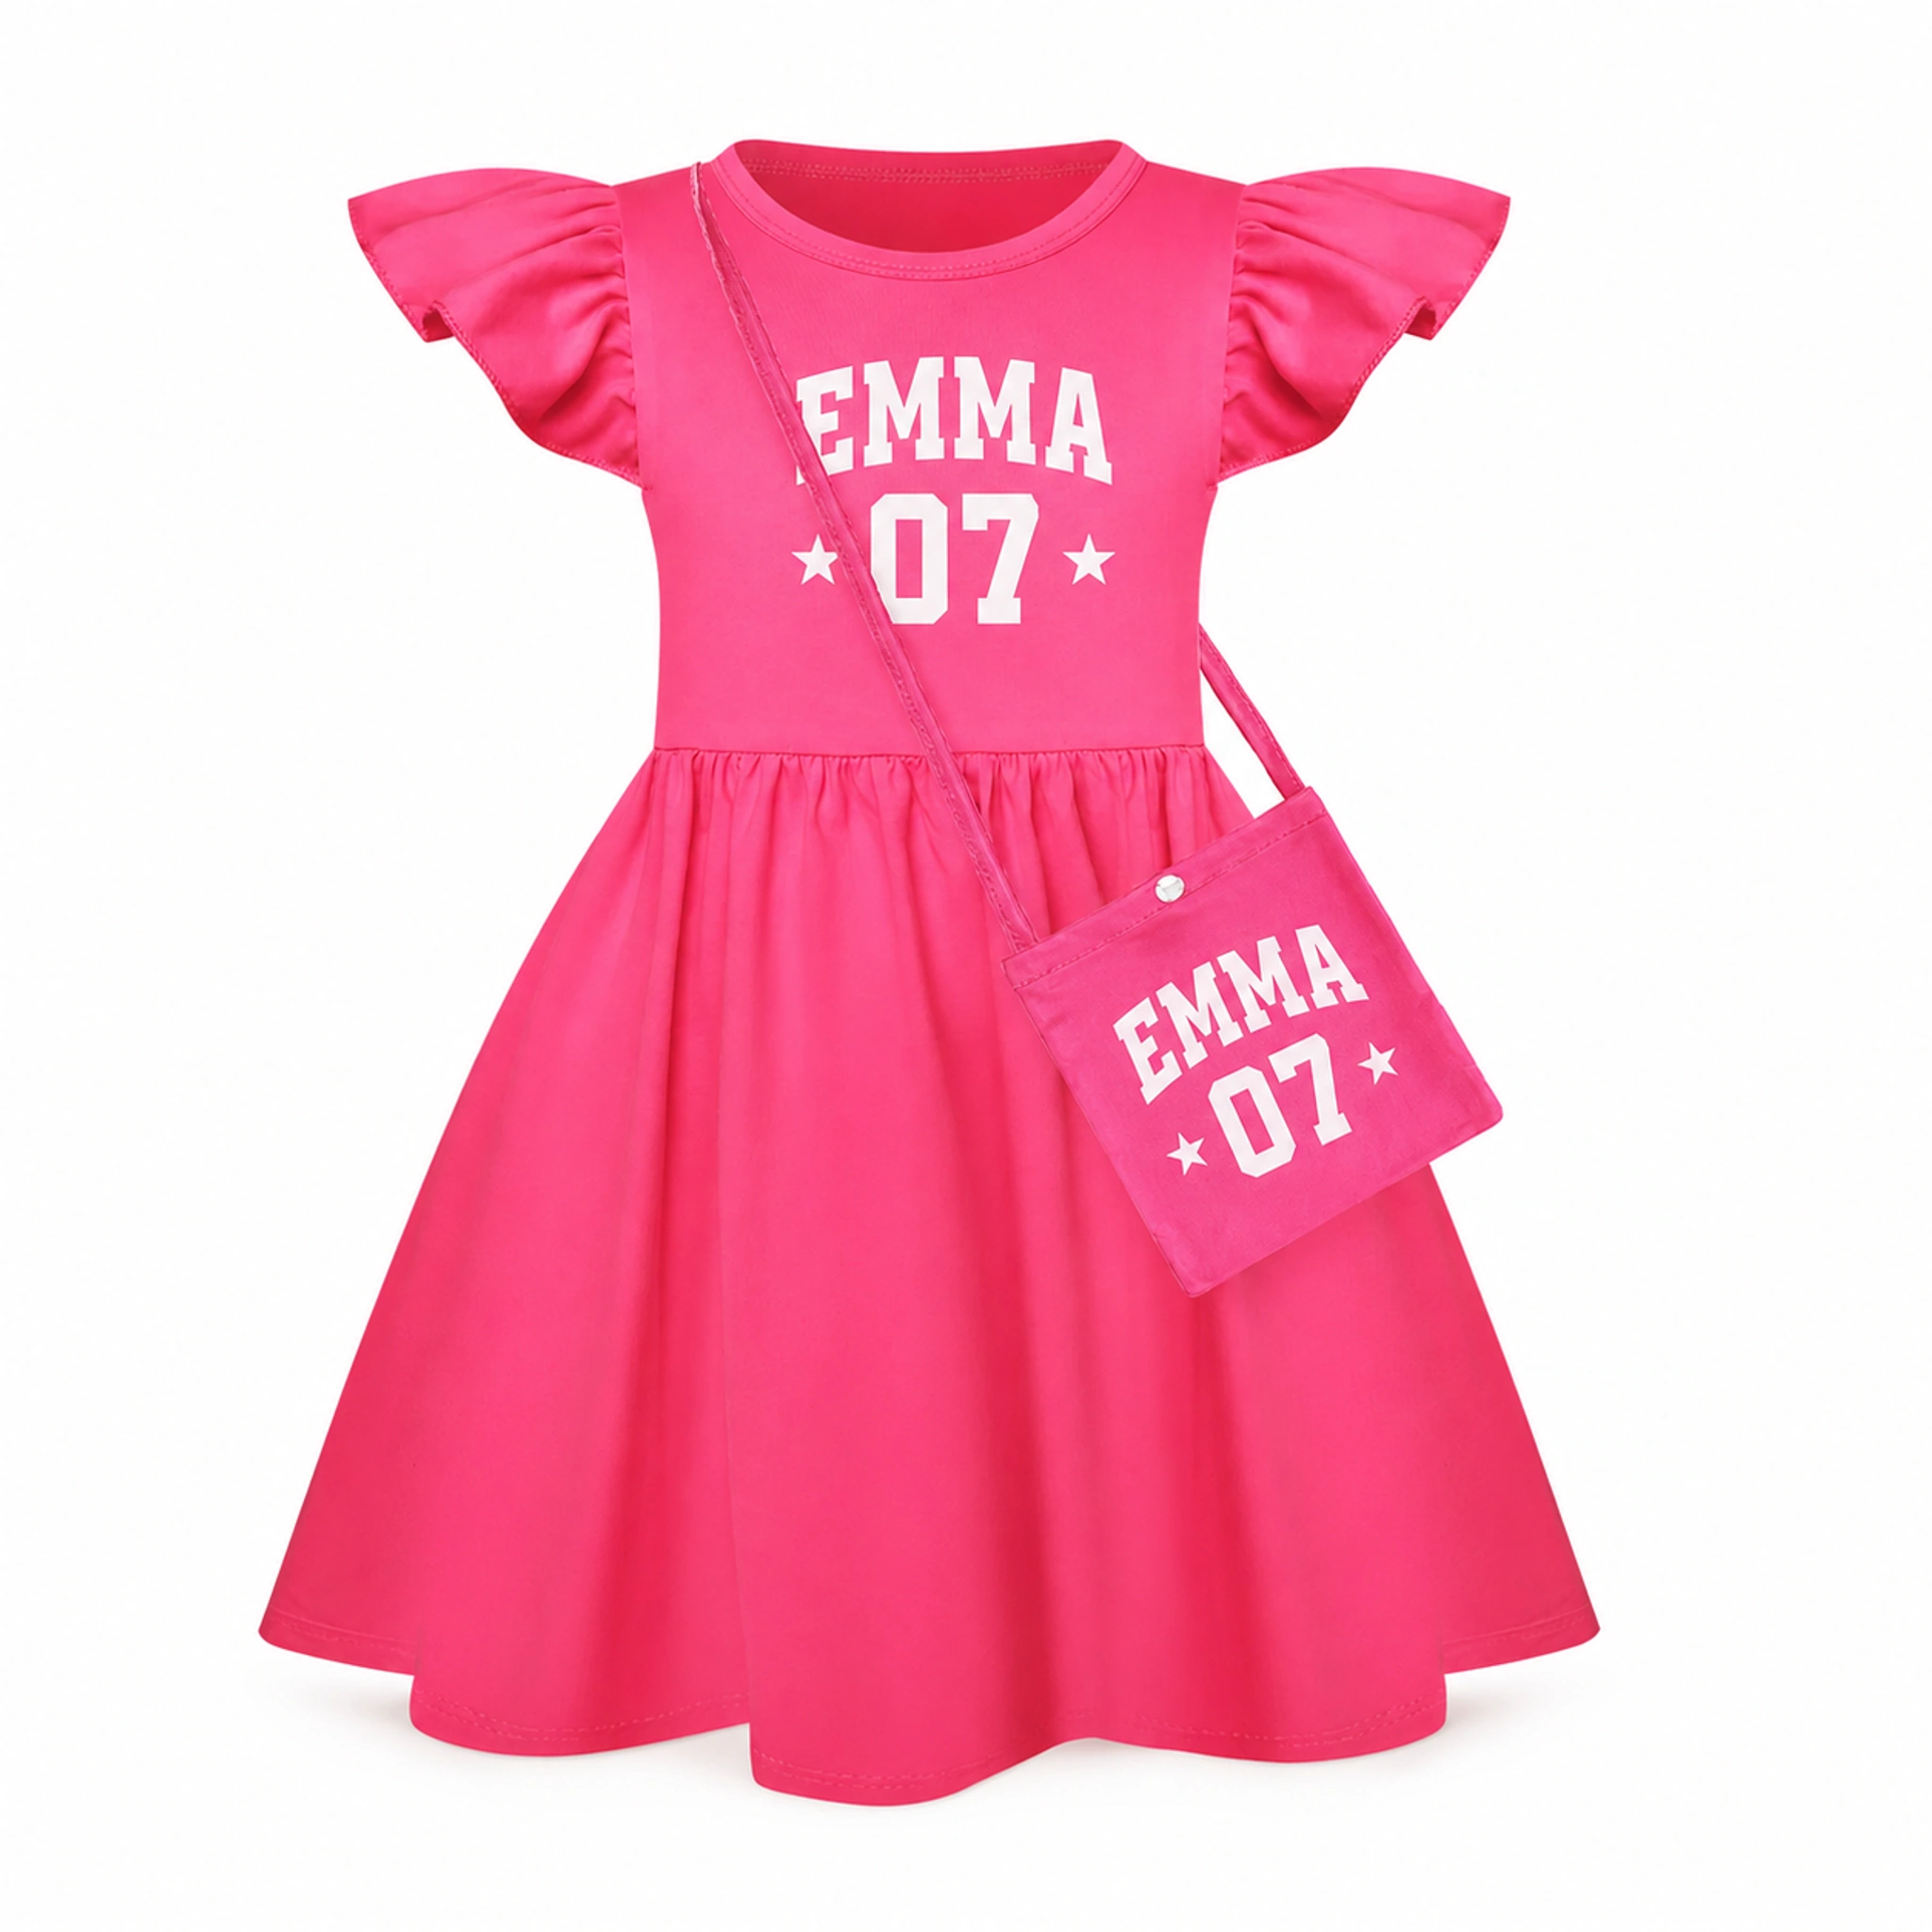
1. Give the birthday child a clear design hierarchy
Start with the information that matters most: usually the child's first name, new age, or a short birthday phrase. One element should lead; the other details should support it. If every word has the same size and visual weight, the design becomes harder to read in party photos.
For younger children, a name and age often provide enough personalization. Themes can be expressed through a small approved icon, color palette, or short phrase without filling the garment with tiny details.
- Primary: first name, age, or one short birthday phrase
- Secondary: date, party theme, or a small approved graphic
- Optional group element: family name, crew wording, or shared back design
2. Coordinate the crew without making every shirt identical
A matching group can share the same typeface, colors, and back design while using different front roles. Examples include a birthday-child version plus sibling, parent, or guest versions. The important part is to list each role exactly as it should print and to avoid unexplained abbreviations.
If adults and children need different garment styles, use a common design system rather than forcing one cut to fit everyone. A proof for each garment shape helps maintain a consistent look while respecting different print areas.
| Wearer | Front detail | Shared detail | Order fields |
|---|---|---|---|
| Birthday child | Name + age | Party wording on back | Style, color, size, quantity |
| Sibling | Name or sibling role | Same back wording | Style, color, size, quantity |
| Family or guests | Short crew role | Same back wording | Style, color, size, quantity |
3. Match the garment to the party setting
A T-shirt is a flexible starting point for an active party or mixed group. A dress or skirt can suit a more styled celebration, while pajamas work for sleepovers and family nights. Check the actual product's colors and size table before choosing a design palette.
Think about what may cover the print. A jacket worn open can split a center-front design, and a hood can rest over an upper-back print. Use the product's recommended positions and confirm the final placement in the proof.
4. Lock the count and sizes before the proof
Create the wearer list early, but mark it as a draft until every size is confirmed against the product chart. Age labels can be a starting point, not a substitute for garment measurements. For a group order, ask one adult to own the final roster so duplicate or conflicting versions do not circulate.
- First name or role exactly as printed
- Product style and garment color
- Selected size from the exact product chart
- Quantity and any front/back variation
5. Work backward from the party date
Share the destination and event date in the first message. The applicable production and delivery window can only be confirmed after the style, quantity, proof process, and destination are known. Leave time for roster corrections and proof review instead of treating artwork approval as an instant step.
Before approval, confirm who will receive the package and how the garments will be distributed. Keeping the final roster available makes it easier to sort a multi-size order when it arrives.
Put the guide into practice.
Use these pages to compare the relevant styles, process, and order policies.