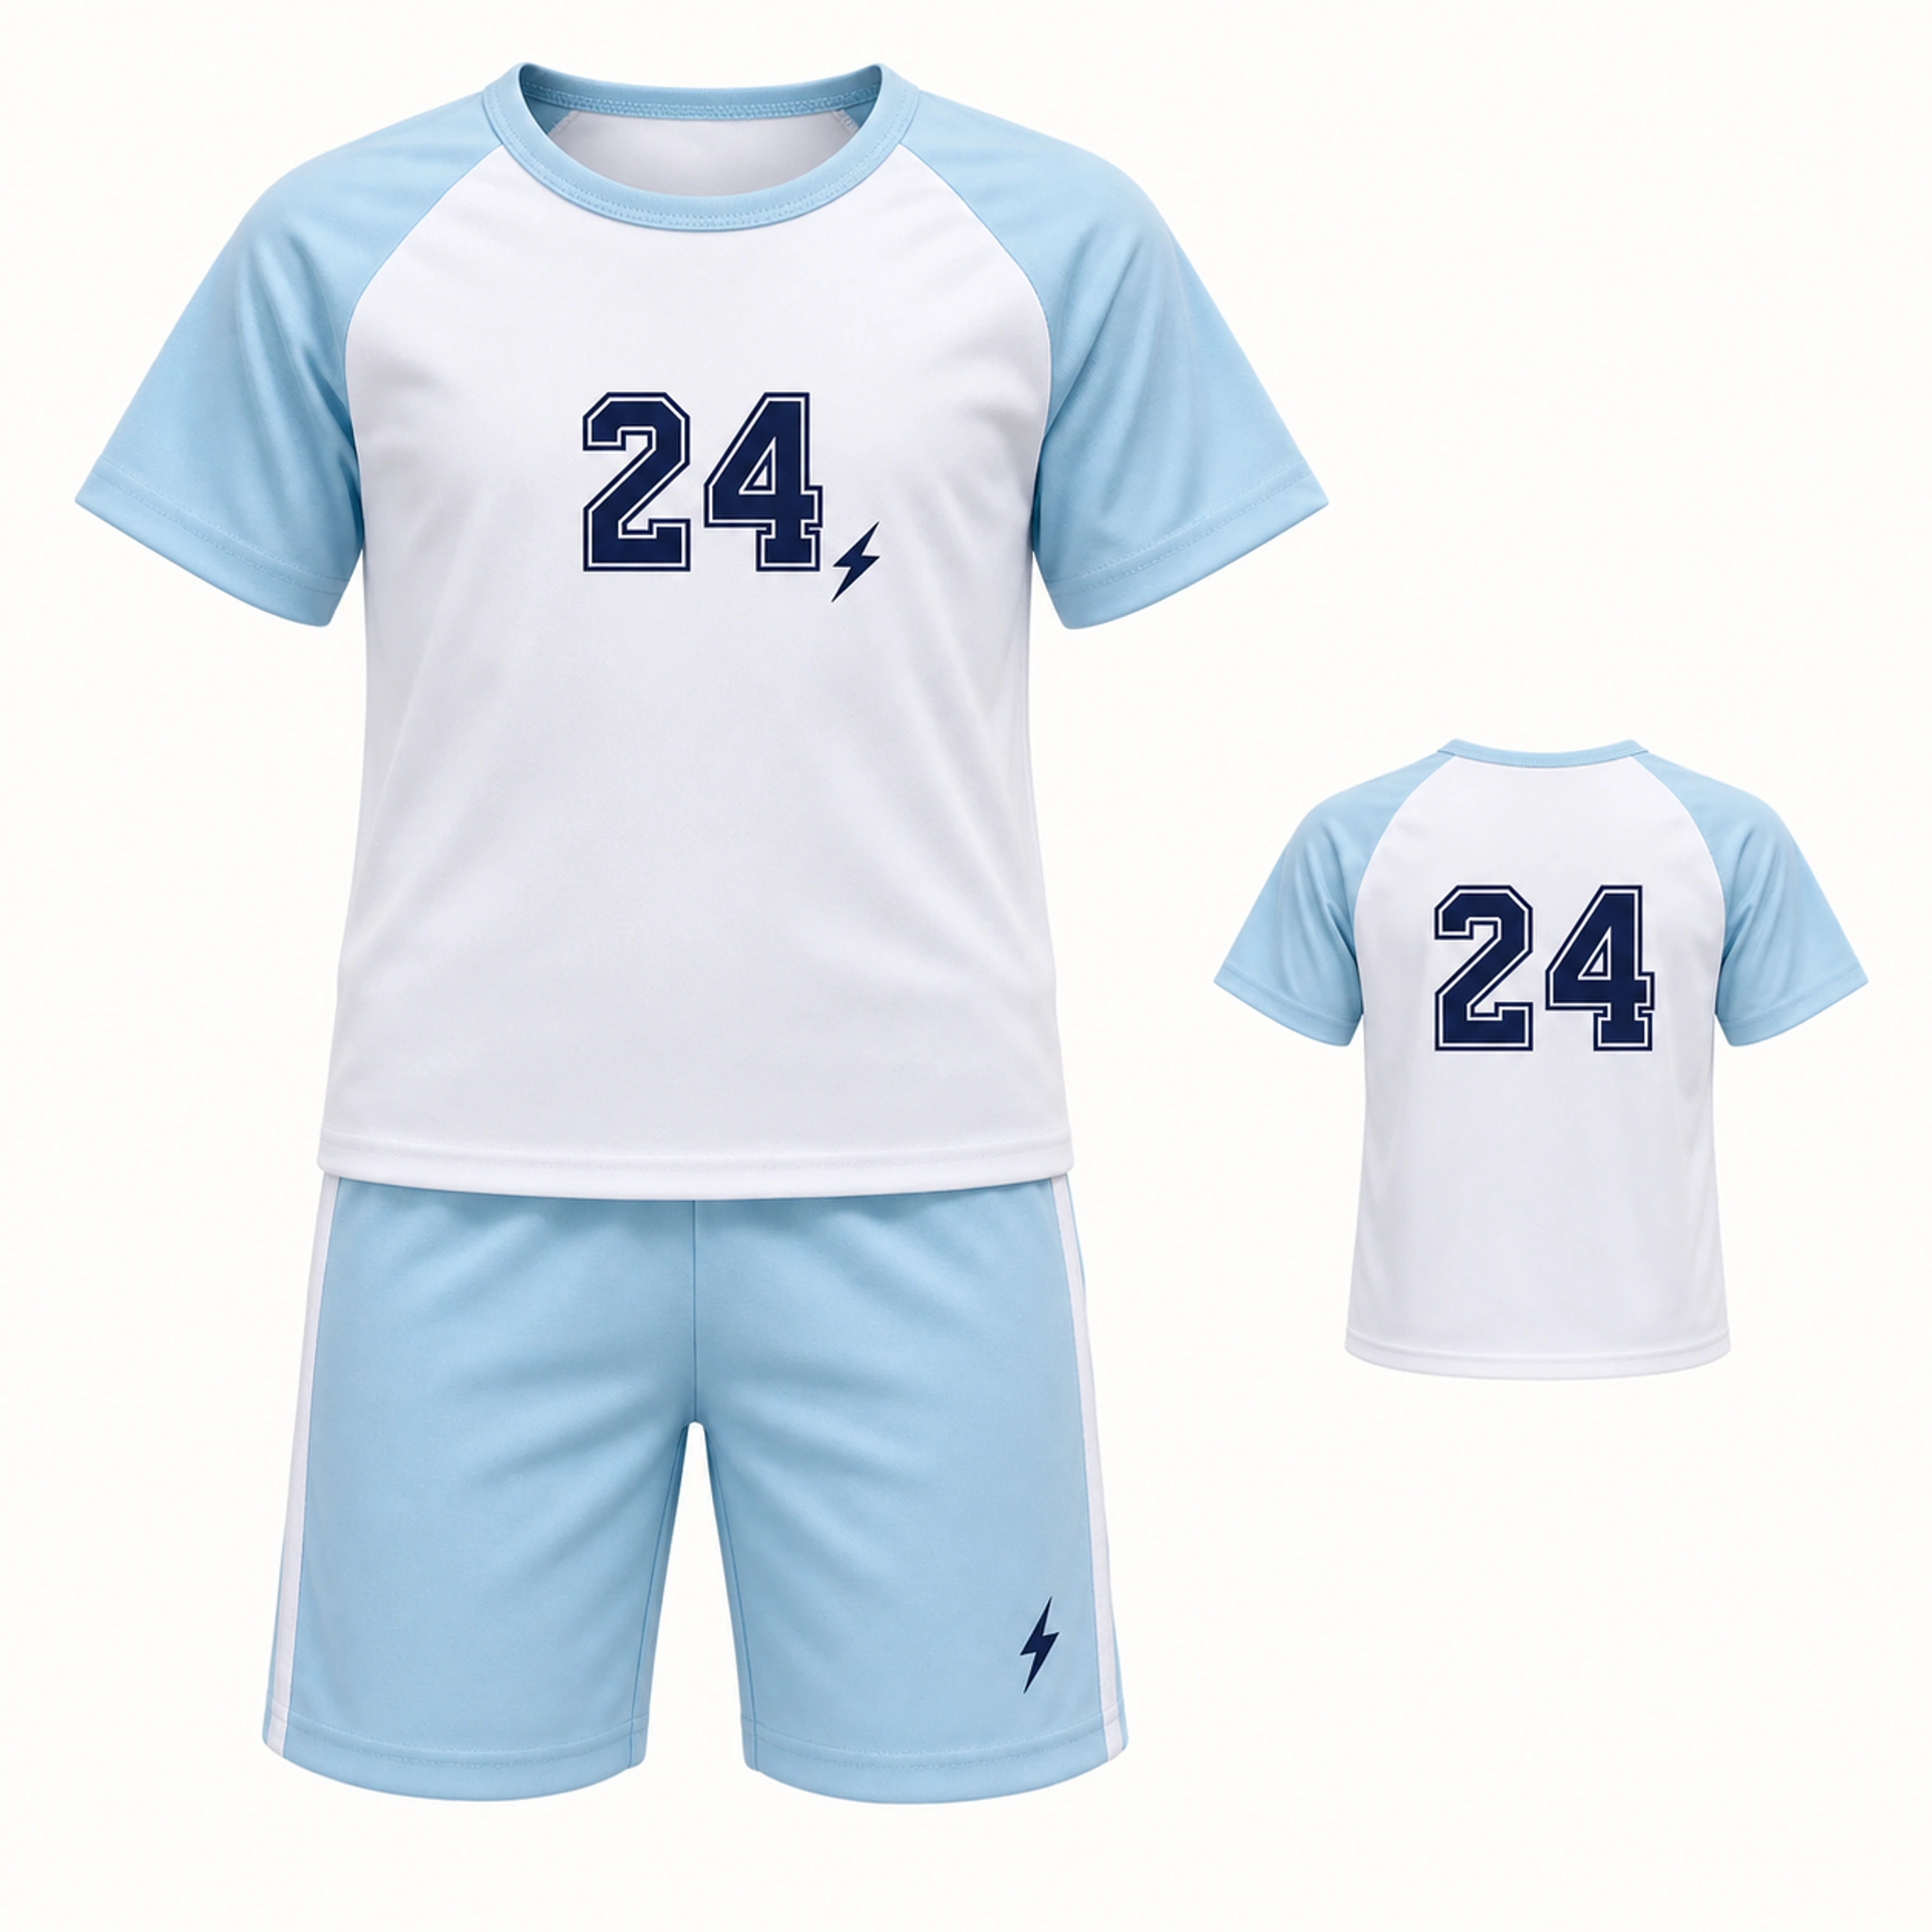
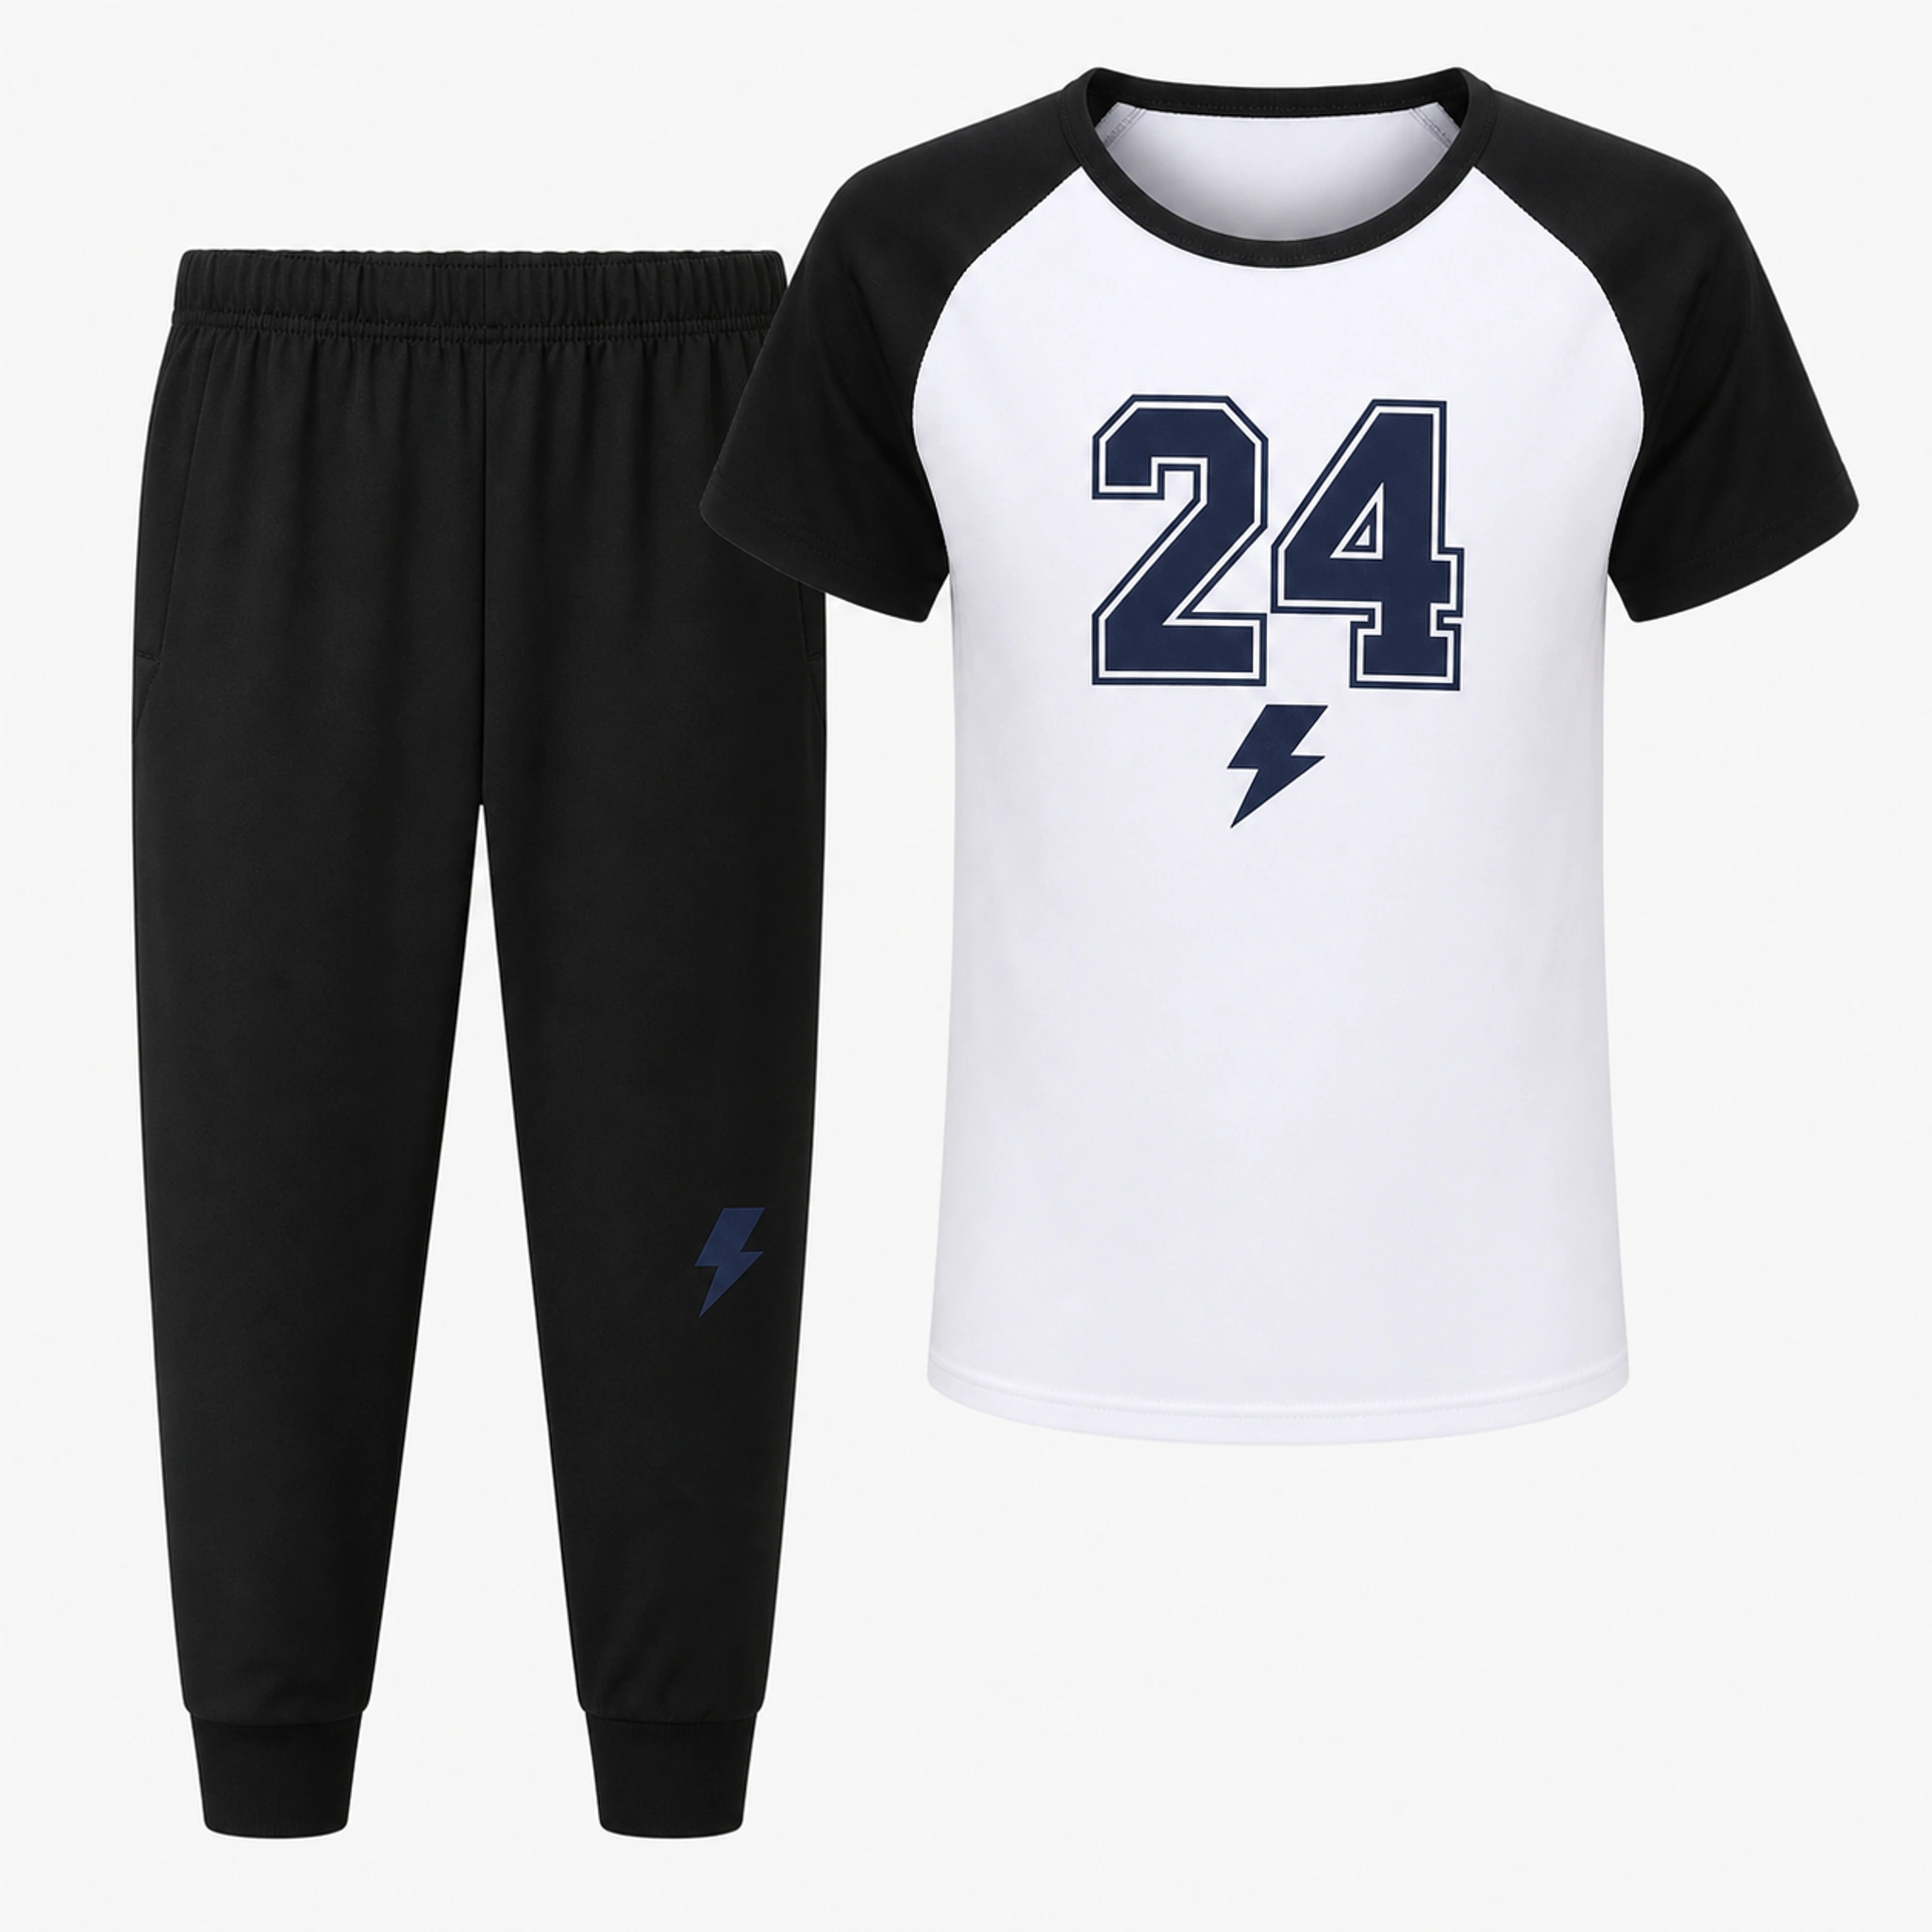
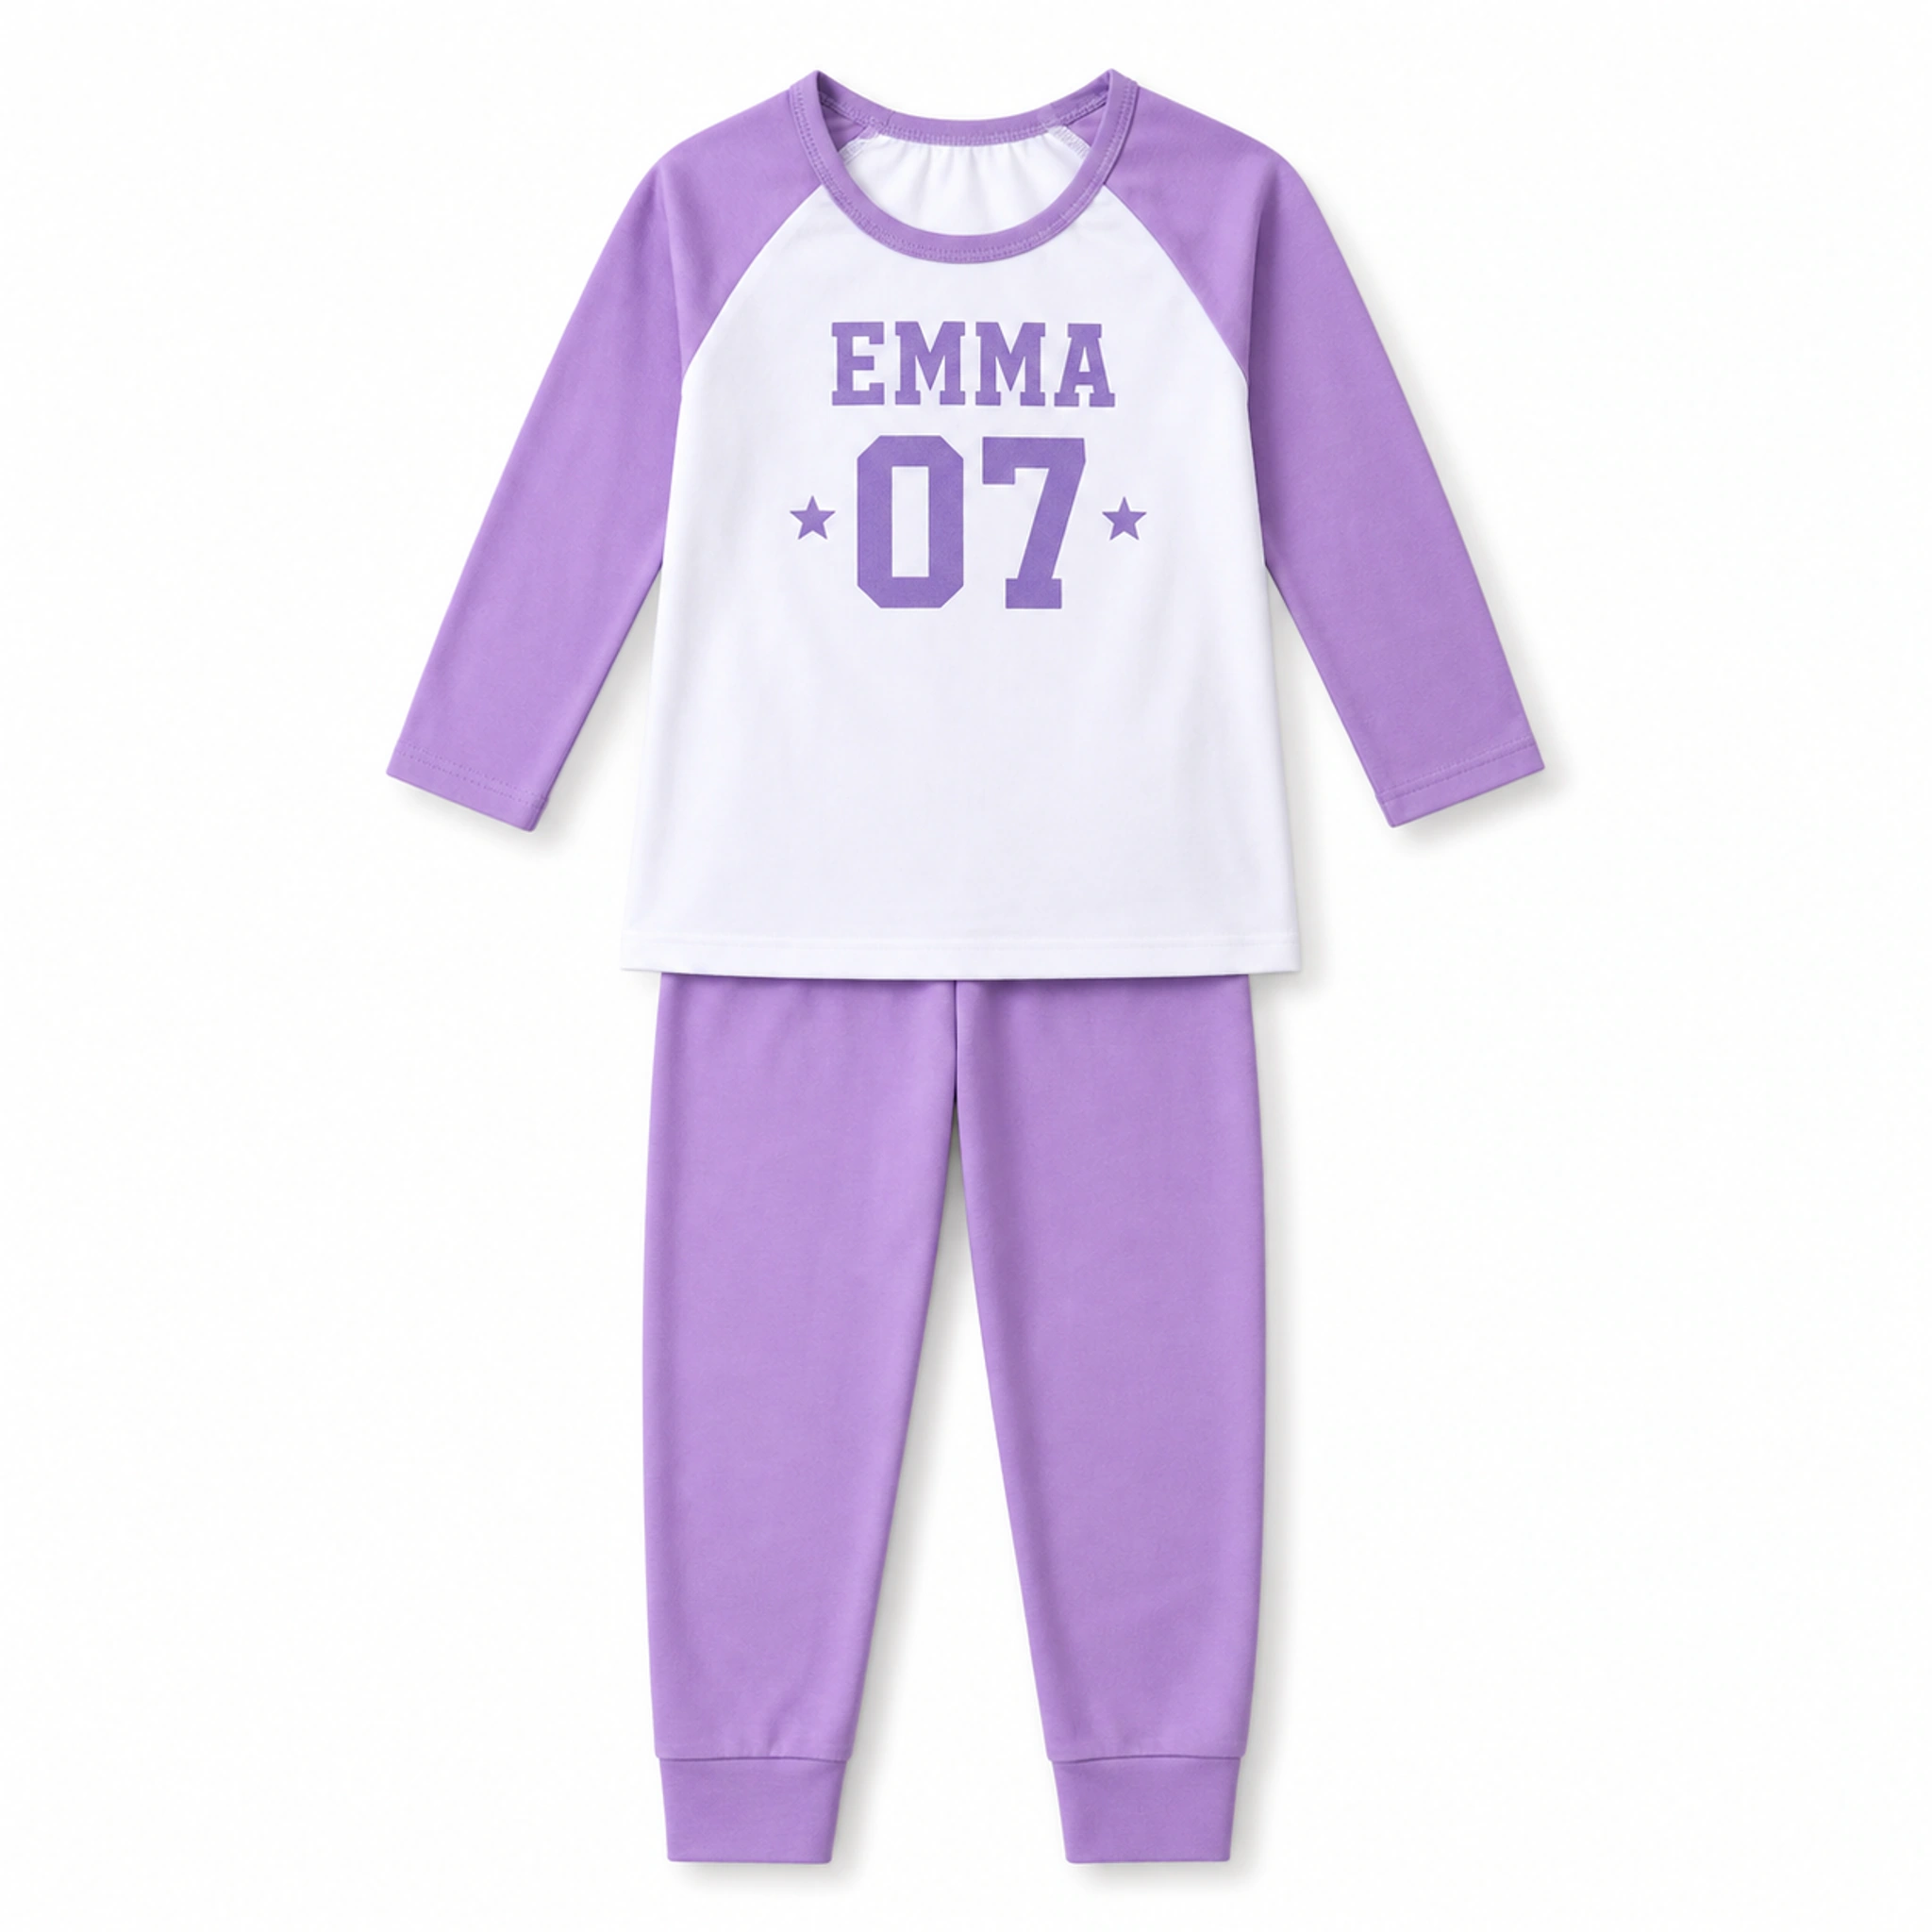
1. Start with the moment, not the graphic
The same design can behave very differently on a birthday tee, a zip jacket, a sleep set, or a team uniform. Begin by writing down who will wear the garments, what they will be doing, whether the pieces must match, and when they are needed. Those answers narrow the garment choices before artwork work begins.
For a one-child order, comfort and the child's preferred color may lead the decision. For a class, club, or family group, repeatability matters more: available sizes, readable names, easy distribution, and a design that works across several garment colors.
- Occasion or use: birthday, class day, team event, sleepover, family gathering, or everyday wear
- Wearers: one child, siblings, mixed ages, a class, a team, or adults and children together
- Personal details: name, age, number, role, class name, team name, or short event wording
- Order facts: quantity, destination, event date, and the person approving the proof
2. Choose the garment before finalizing the design
Open the product page and compare the available colors, size chart, garment shape, and listed personalization positions. A flat T-shirt front gives a different print area from a jacket with a zipper, a hoodie with cords, or a set with more than one piece.
Do not assume that a color or size shown on one style exists on another. Build the order around the options listed for the exact product, then ask if a needed combination is unclear. This prevents a finished design from depending on an unavailable blank garment.
Keep in mind: For mixed-style groups, keep one shared visual element - such as the same typeface, emblem, or back wording - and adapt its scale to each garment in the proof.
3. Prepare names, wording, and artwork carefully
Type every name and number exactly as it should appear. If you are ordering for a group, avoid sending details across several chat messages; combine them into one roster and give that file a clear version name. For artwork, send the clearest original file you are authorized to use rather than a screenshot copied from another seller.
Short wording is usually easier to read on children's garments. If a design contains a small name on the left chest and shared wording on the upper back, state which content belongs in each position. The proof should show both views.
- Confirm capitalization, punctuation, accents, and number order
- Separate shared design elements from wearer-specific details
- Identify any colors that must match an existing school, team, or event palette
- Only submit logos, characters, photos, or artwork you have permission to use
4. Review the digital proof like an order checklist
A proof is more than a visual preview. It connects the artwork to the selected garment and written order details. Check the front and back separately, then compare the proof with the roster line by line. Ask for corrections before approval if anything is missing or unclear.
Garment
Check the exact style, color, and view shown in the proof.
Content
Check every name, age, number, date, and line of wording.
Placement
Confirm wearer-left chest, centered upper back, or the approved alternative.
Order
Match sizes, quantities, destination, and event date to the written summary.
5. Send one final brief before payment and production
The safest handoff is a single final summary: product link, chosen colors, sizes and quantities, personalization roster, placement, approved proof, shipping destination, and event date. If a detail changes after the proof, request an updated proof rather than relying on a correction buried in chat.
Production and delivery windows vary with the style, order size, proof approval, destination, and current availability. Ask for the applicable window for your order before approving it; do not plan around a generic estimate from an unrelated product.
Put the guide into practice.
Use these pages to compare the relevant styles, process, and order policies.