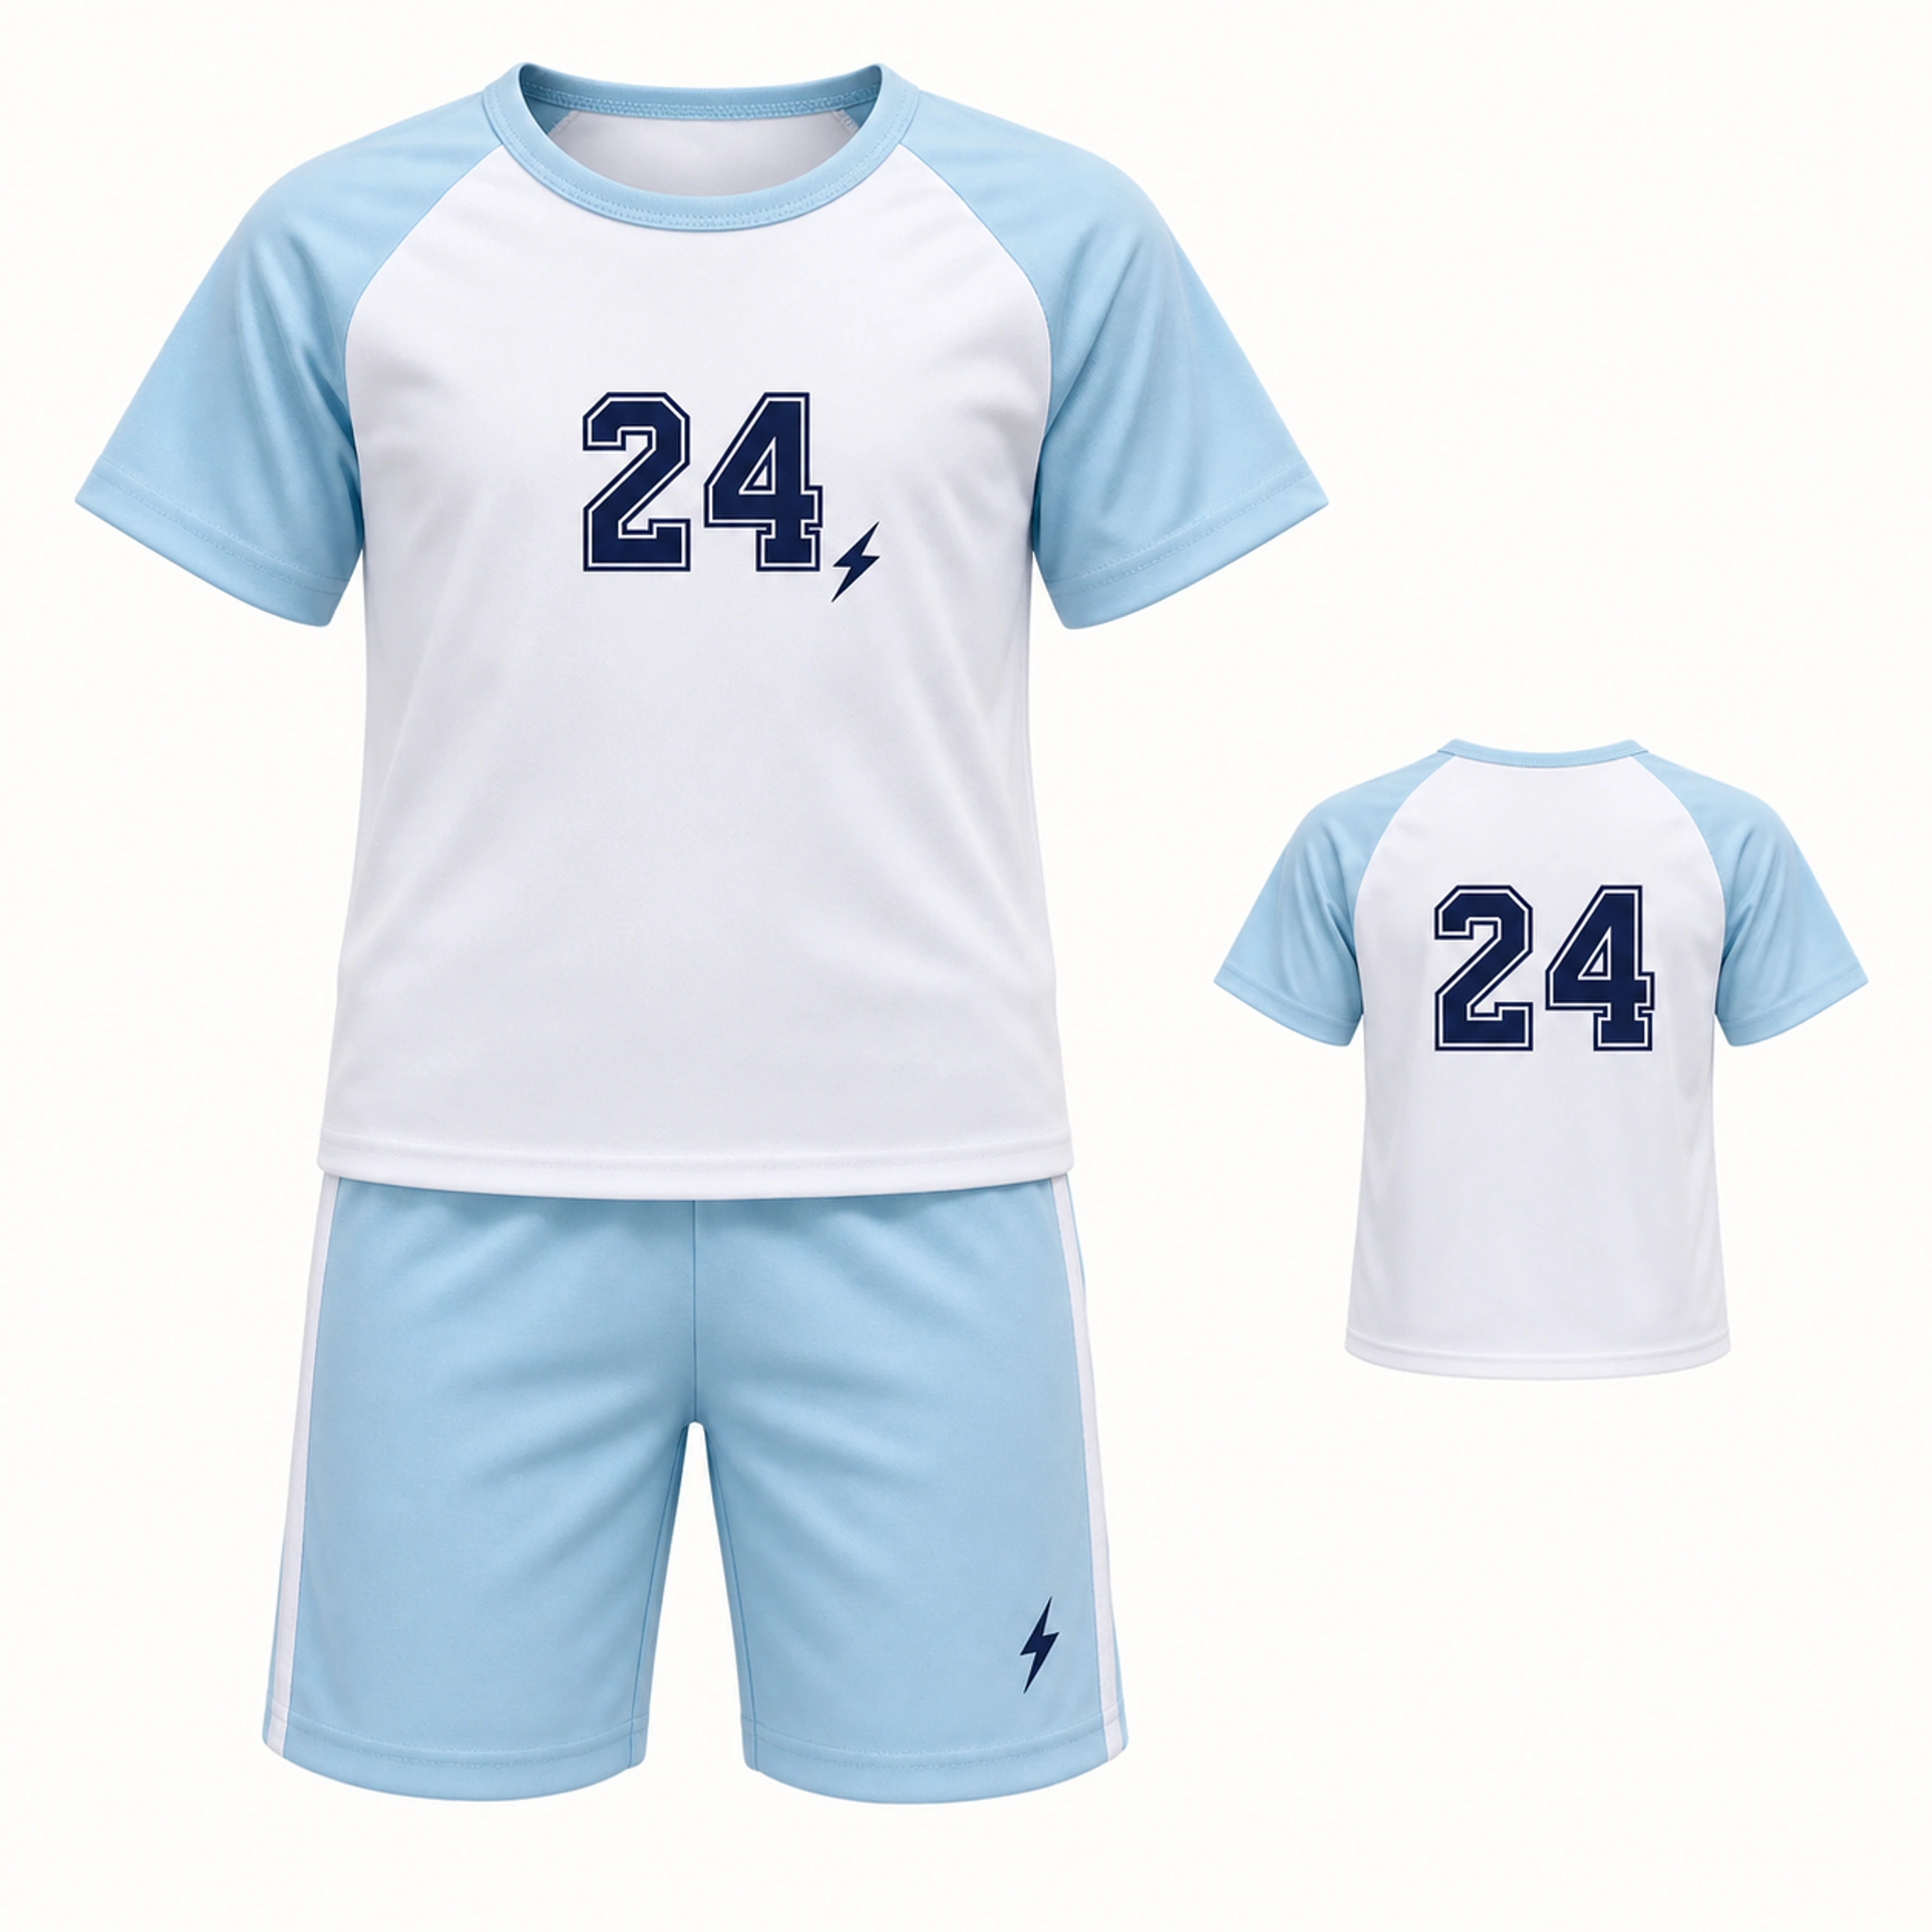
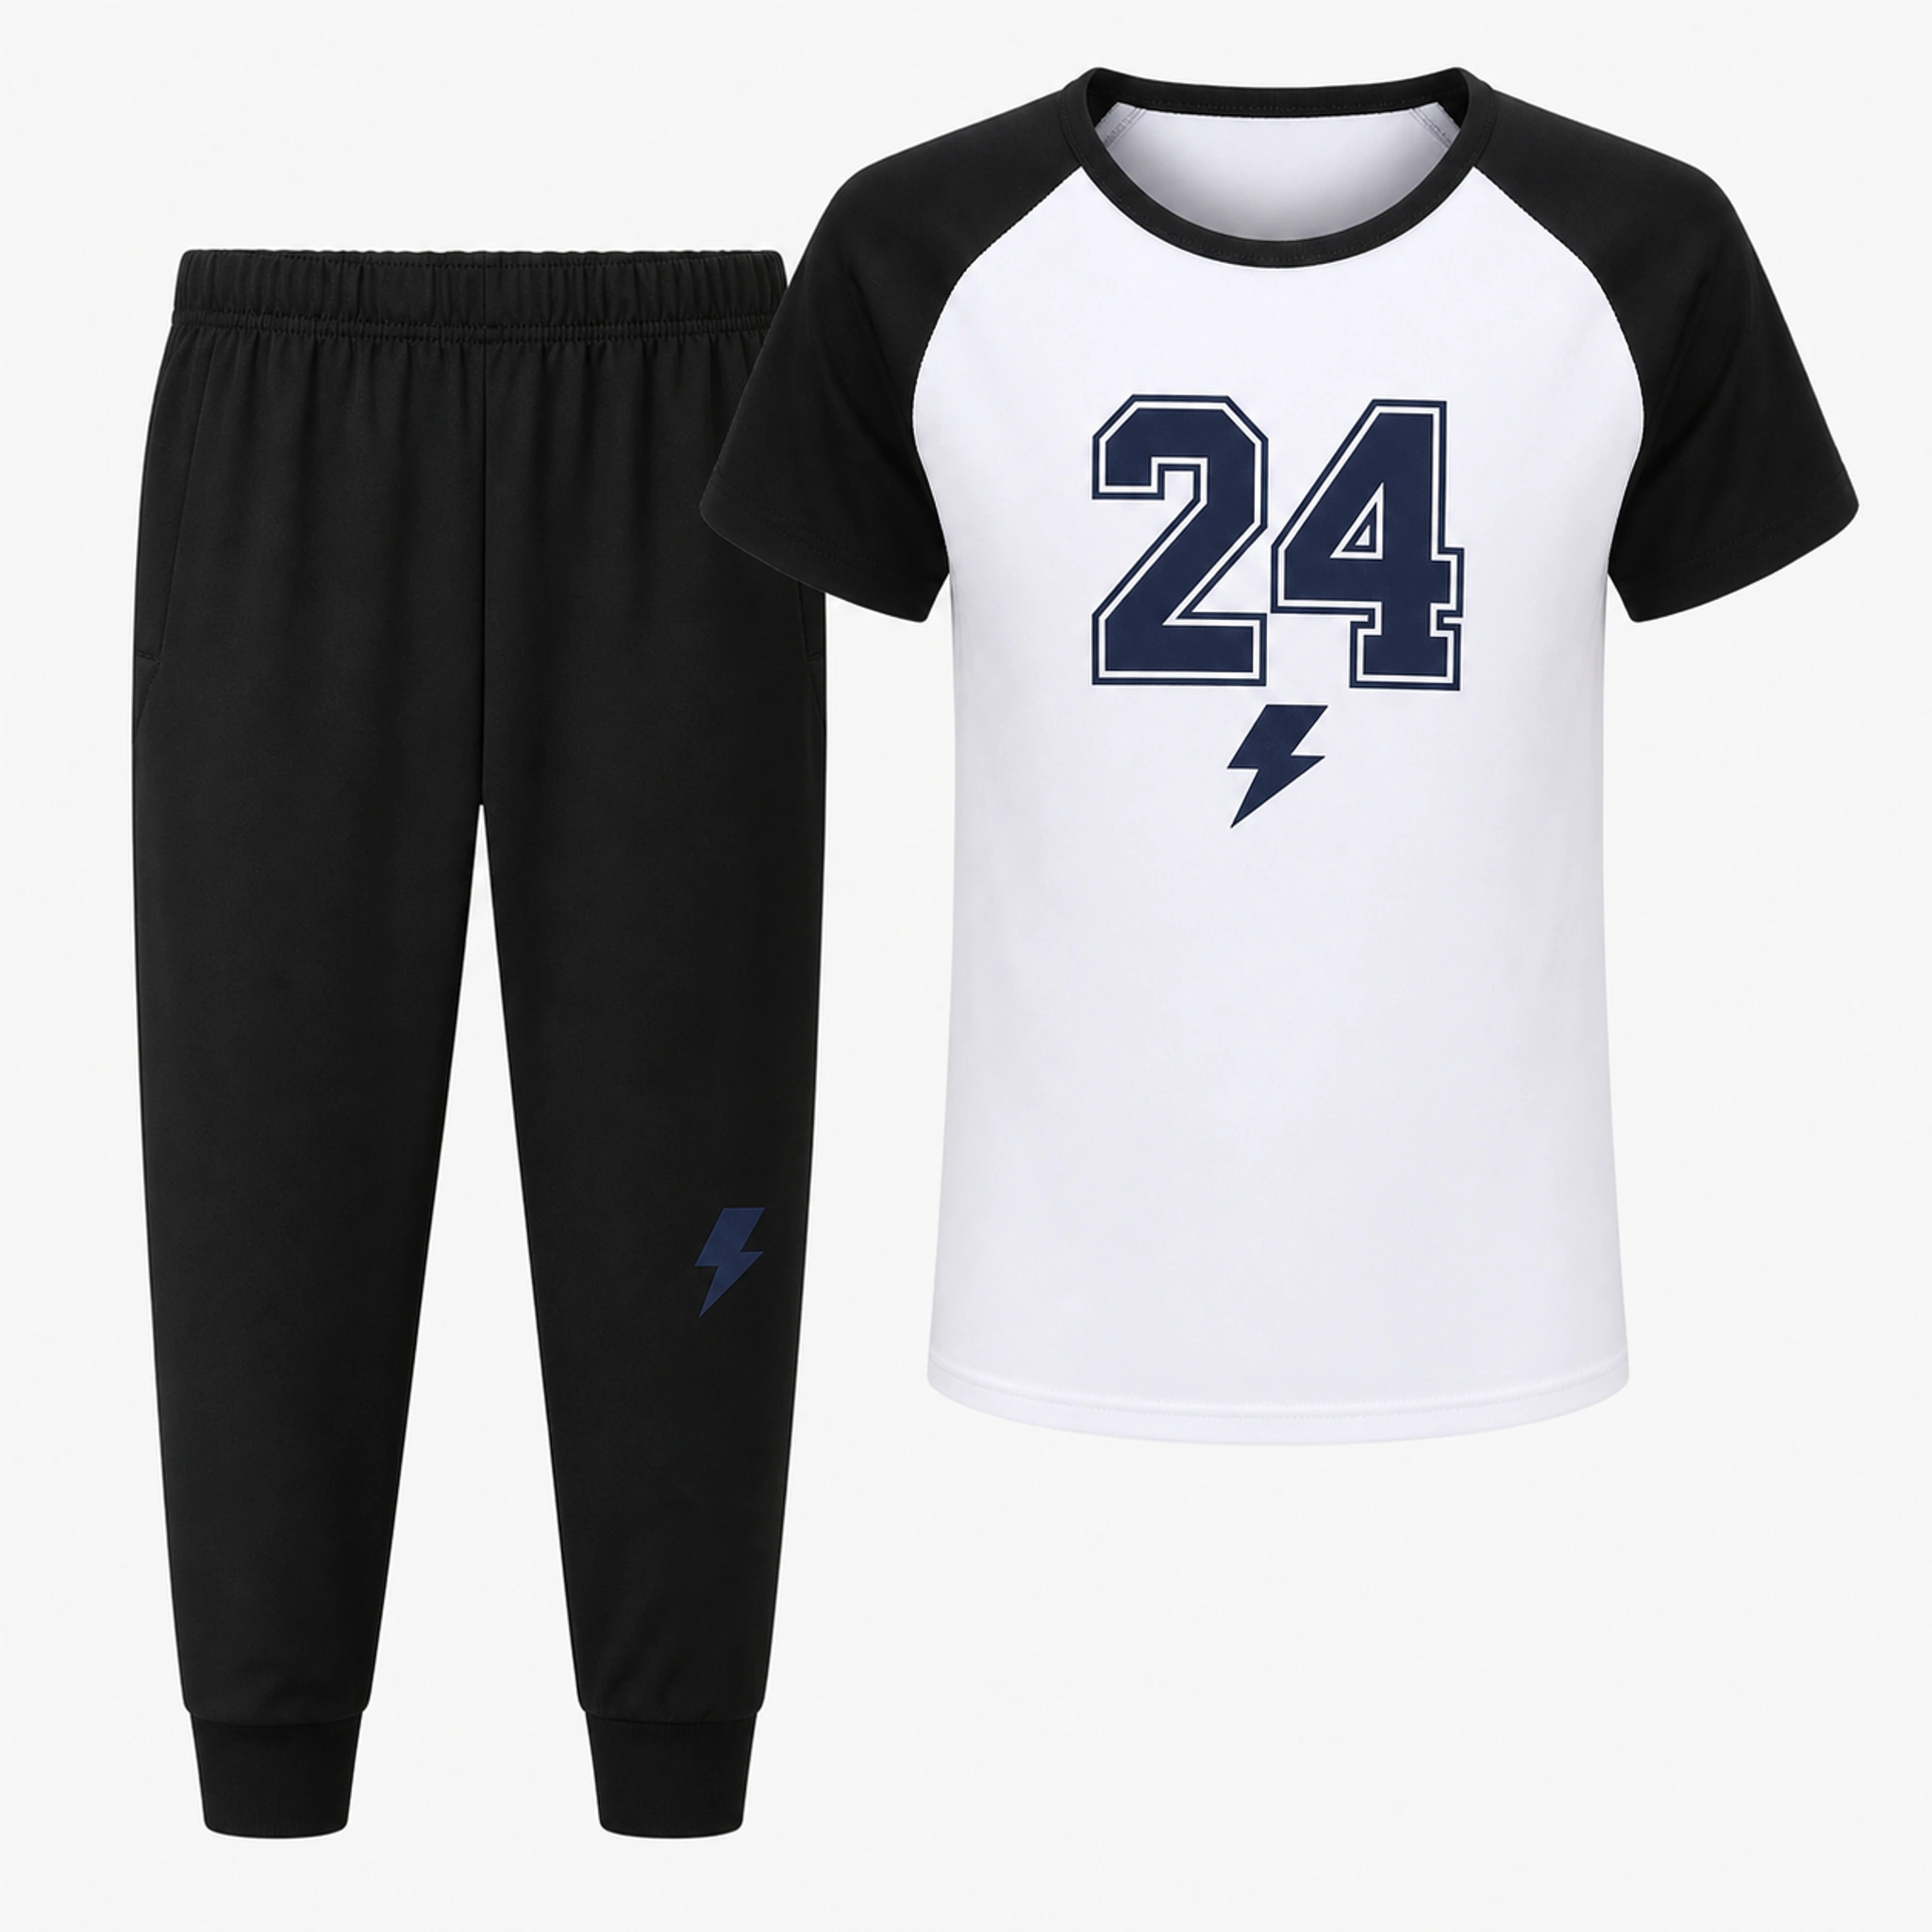
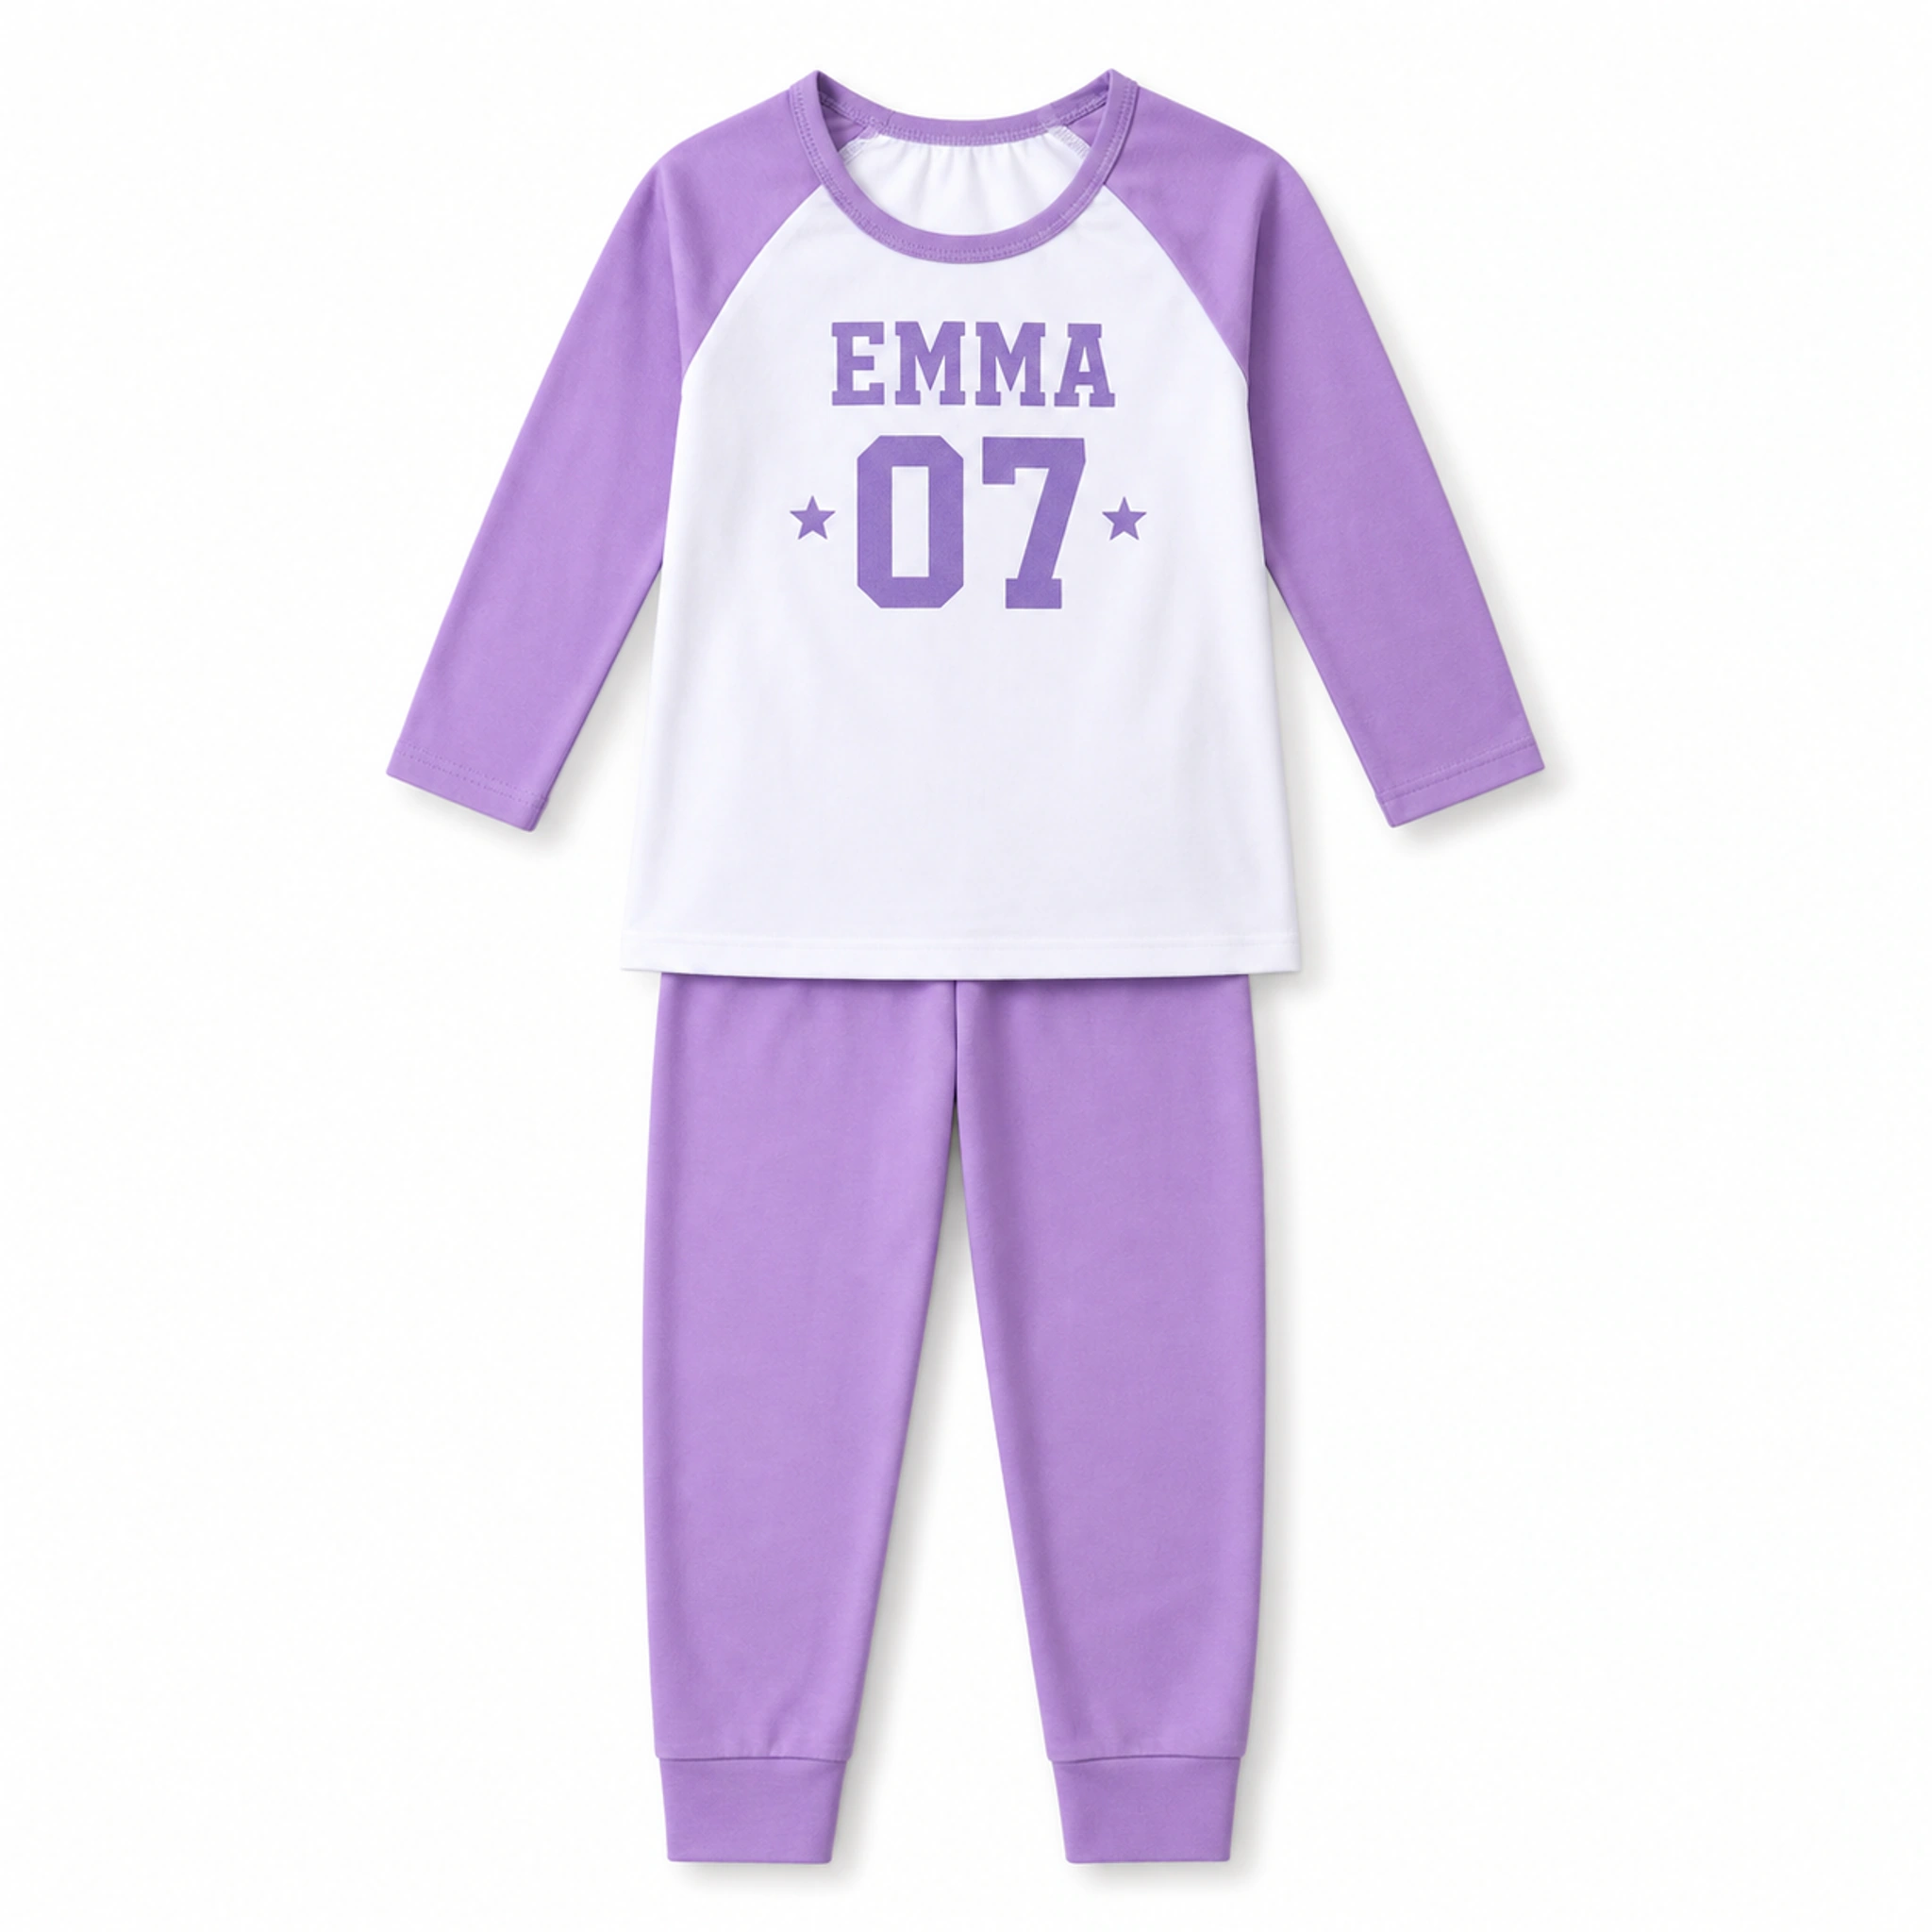
1. Treat age and size labels as starting points
Children of the same age can have different proportions and fit preferences, and products can use different size systems. A label such as 120, 140, or an age range should lead you to a chart row, not replace the measurements in that row.
Use the English size chart shown on the product page. Note whether a chest value represents the garment around the body, a flat width, or another measurement; do not double or halve a number unless the chart explains that convention.
2. Compare with a garment that already fits
A practical method is to lay a similar garment flat without stretching it and measure the same points shown in the product chart. Compare top length, chest or width, sleeve, waist, or pants length only where those fields are provided for the selected style.
Body measurements and garment measurements are not interchangeable. If the chart describes the garment, compare it with a garment. If you are unsure what a column means, ask before choosing the size.
Match the garment type
Compare a tee with a tee, pajamas with pajamas, and a jacket with a similar layer.
Use the same points
Measure only the locations named in the product chart.
Consider the use
Think about base layers, movement, sleep comfort, and the child's preferred fit.
Choose deliberately
The buyer or guardian makes the final size selection from the product chart.
3. Handle between-size decisions deliberately
When measurements fall between chart rows, consider which dimension limits comfort and how the garment will be worn. A jacket worn over another layer has different needs from a close-fitting swim style. Do not apply a single 'always size up' rule to every product.
Customization can affect return eligibility, so resolve size questions before proof approval and payment. If you need clarification, share the product link and the specific chart rows you are comparing rather than only the child's age.
4. Collect group sizes without assigning them yourself
Send families the exact product link and chart, then ask them to select the size. Record the product style, color, and size on the same roster row. If the group uses multiple products, do not present one combined chart as if it applies to all garments.
| Stage | Coordinator action | Check |
|---|---|---|
| Share | Send exact product link and chart | Everyone is choosing the same product version |
| Collect | Record style, color, size, and quantity | No age-only or blank size entries |
| Total | Count by product, color, and size | Totals equal the physical garment count |
| Freeze | Name one roster version as final | Proof is checked against that version |
5. Reconcile sizes before personalization is approved
Sort the final roster by product, then color, then size. Count each combination and compare the sum with the total number of personalized lines. Investigate blanks, duplicates, and unusual entries before approving the proof.
The visual proof may focus on artwork and placement, so also check the written order summary for sizes and quantities. Keep that summary with the final roster; both are part of the approval decision.
- Every row has an exact product, color, size, and quantity
- Every chosen option appears on the current product page
- Size totals equal the planned garment count
- Personalization rows and garment rows match one-to-one
- Any approved exception is written clearly
Put the guide into practice.
Use these pages to compare the relevant styles, process, and order policies.