1. Confirm what the school allows
Before designing, ask the authorized school contact whether the order may use the school's name, crest, mascot, slogan, colors, or sponsor marks. Permission to organize an event does not automatically mean permission to reproduce protected artwork.
If official marks cannot be used, a class-year phrase, teacher-approved wording, or original event design can still create a shared identity. Keep written approval with the final artwork file.
Keep in mind: Do not upload student photos, full birth dates, addresses, or other unnecessary personal information to create a shirt roster.
2. Build a design system that works across the group
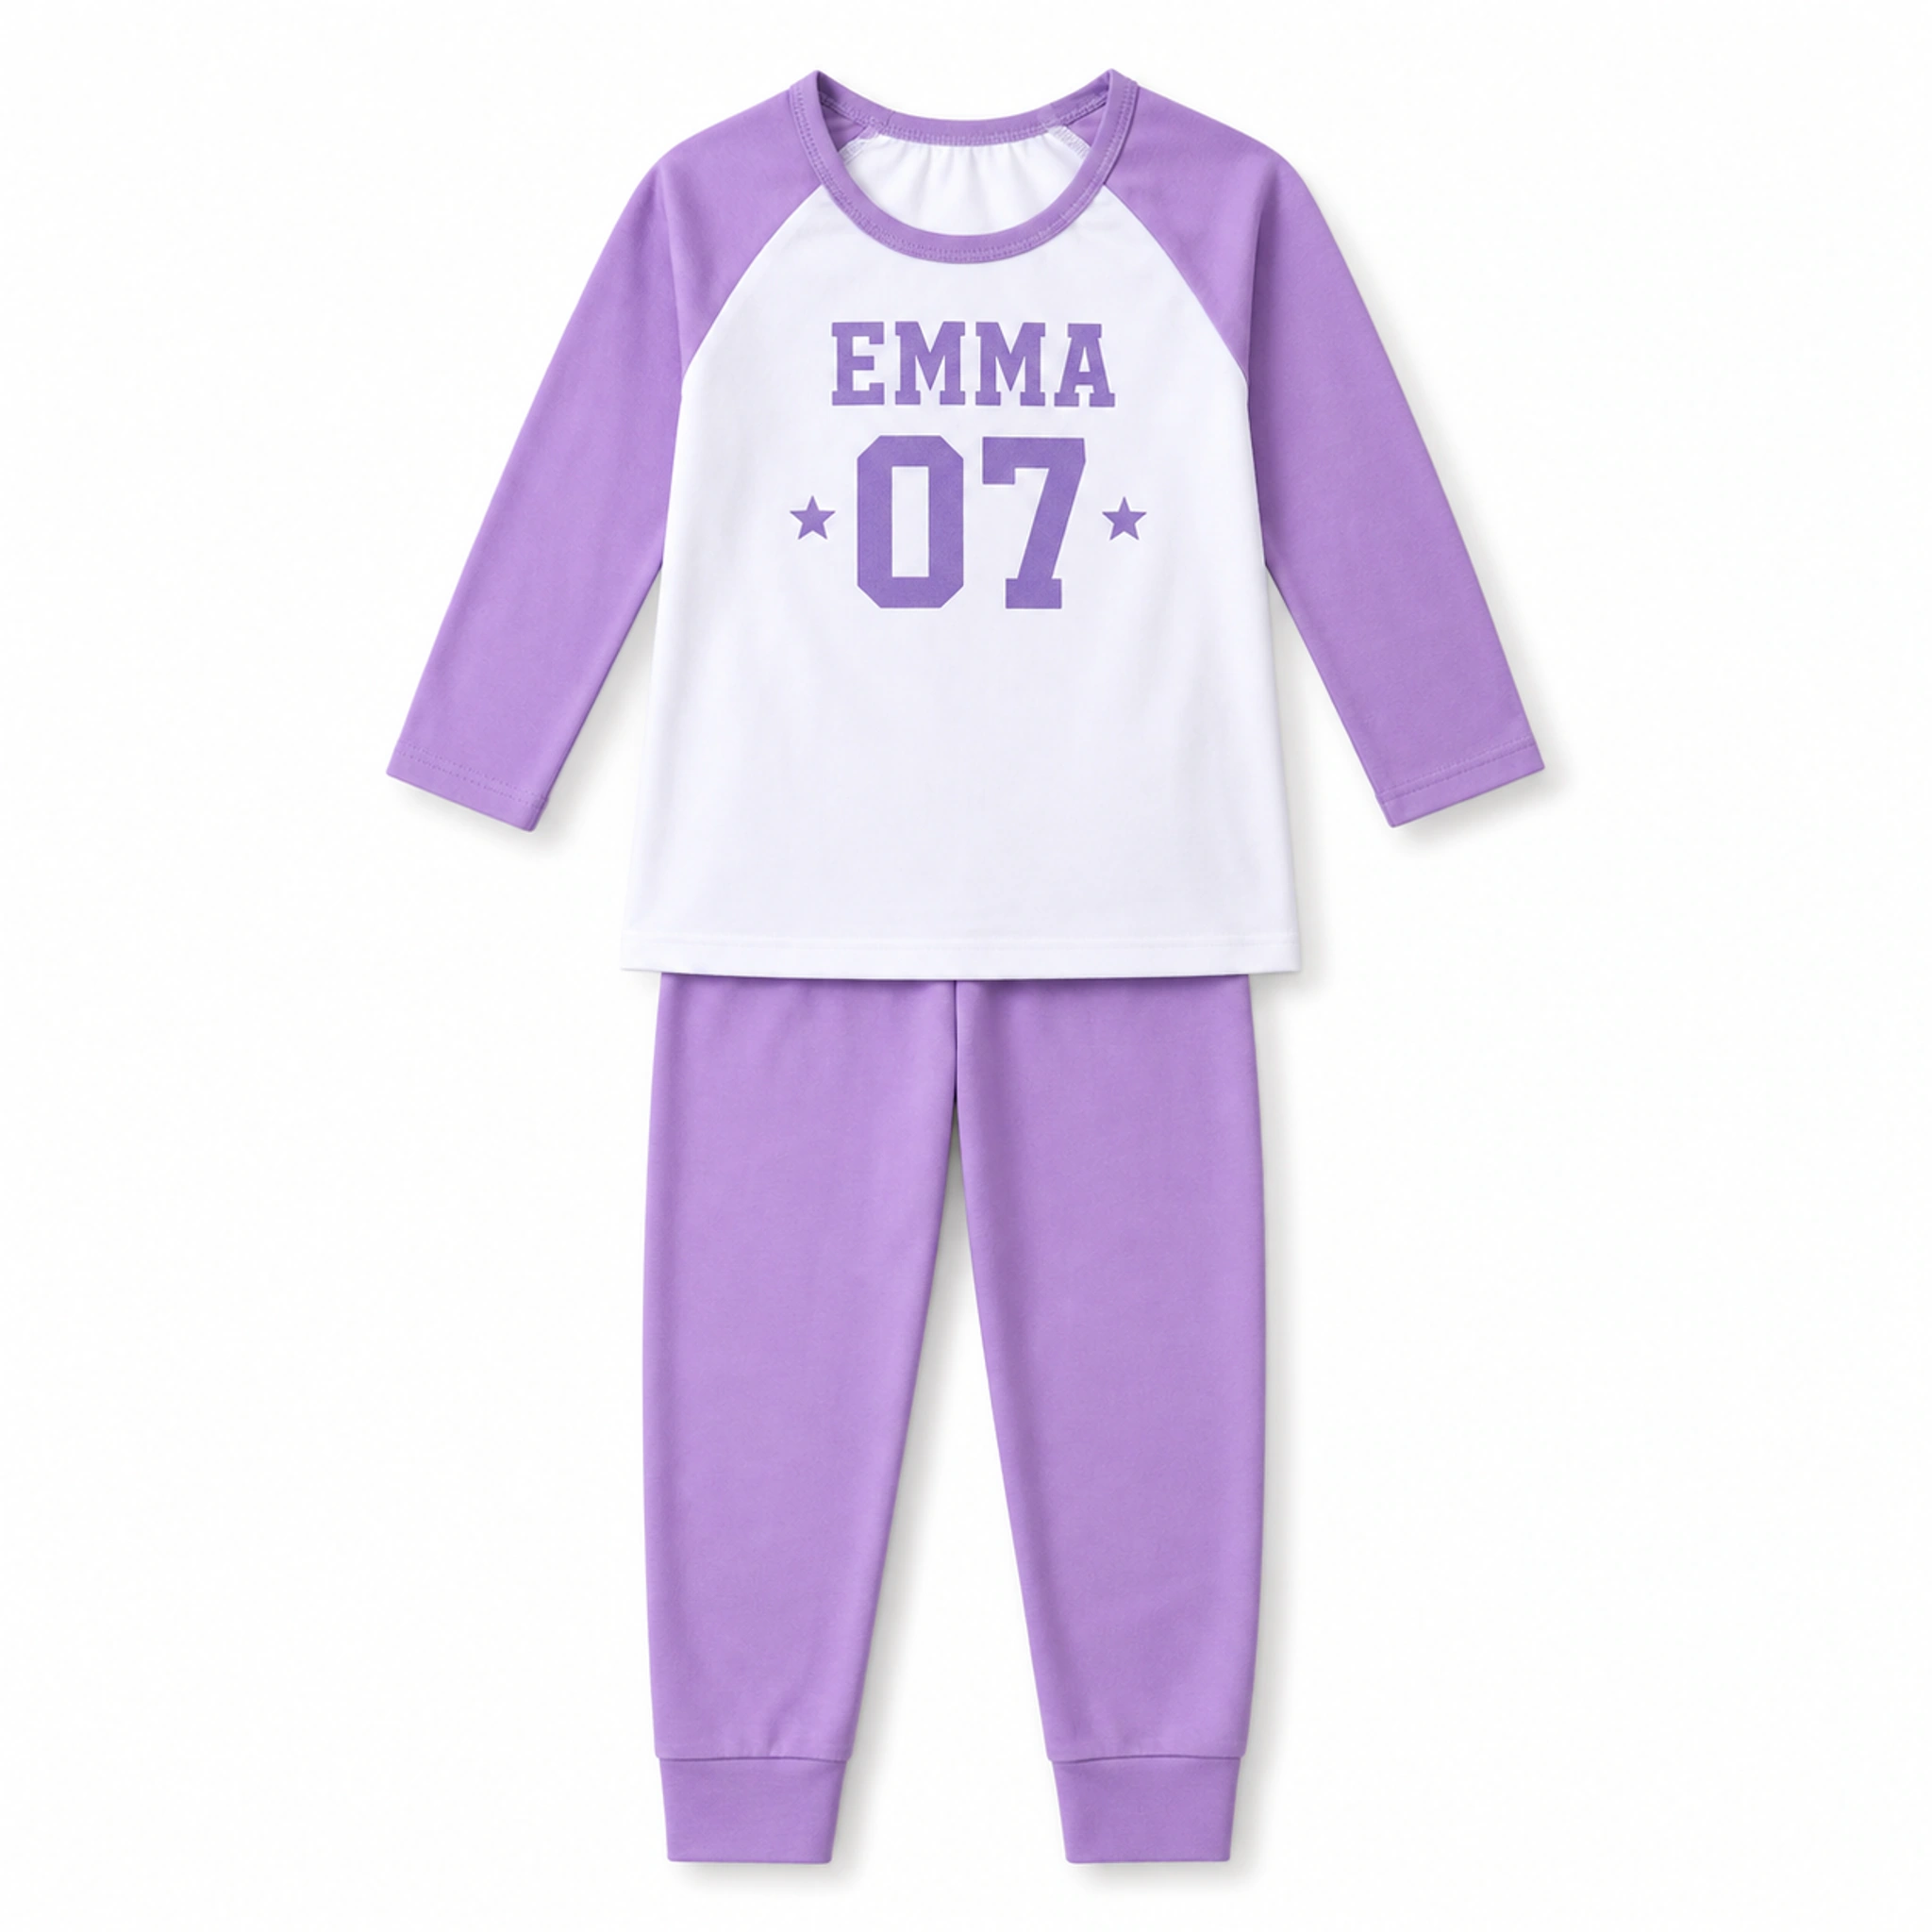
A school design should remain readable across the smallest and largest garment sizes in the order. Use a clear shared element - the class, club, or event - and reserve personalized fields for details such as a first name, role, or number when appropriate.
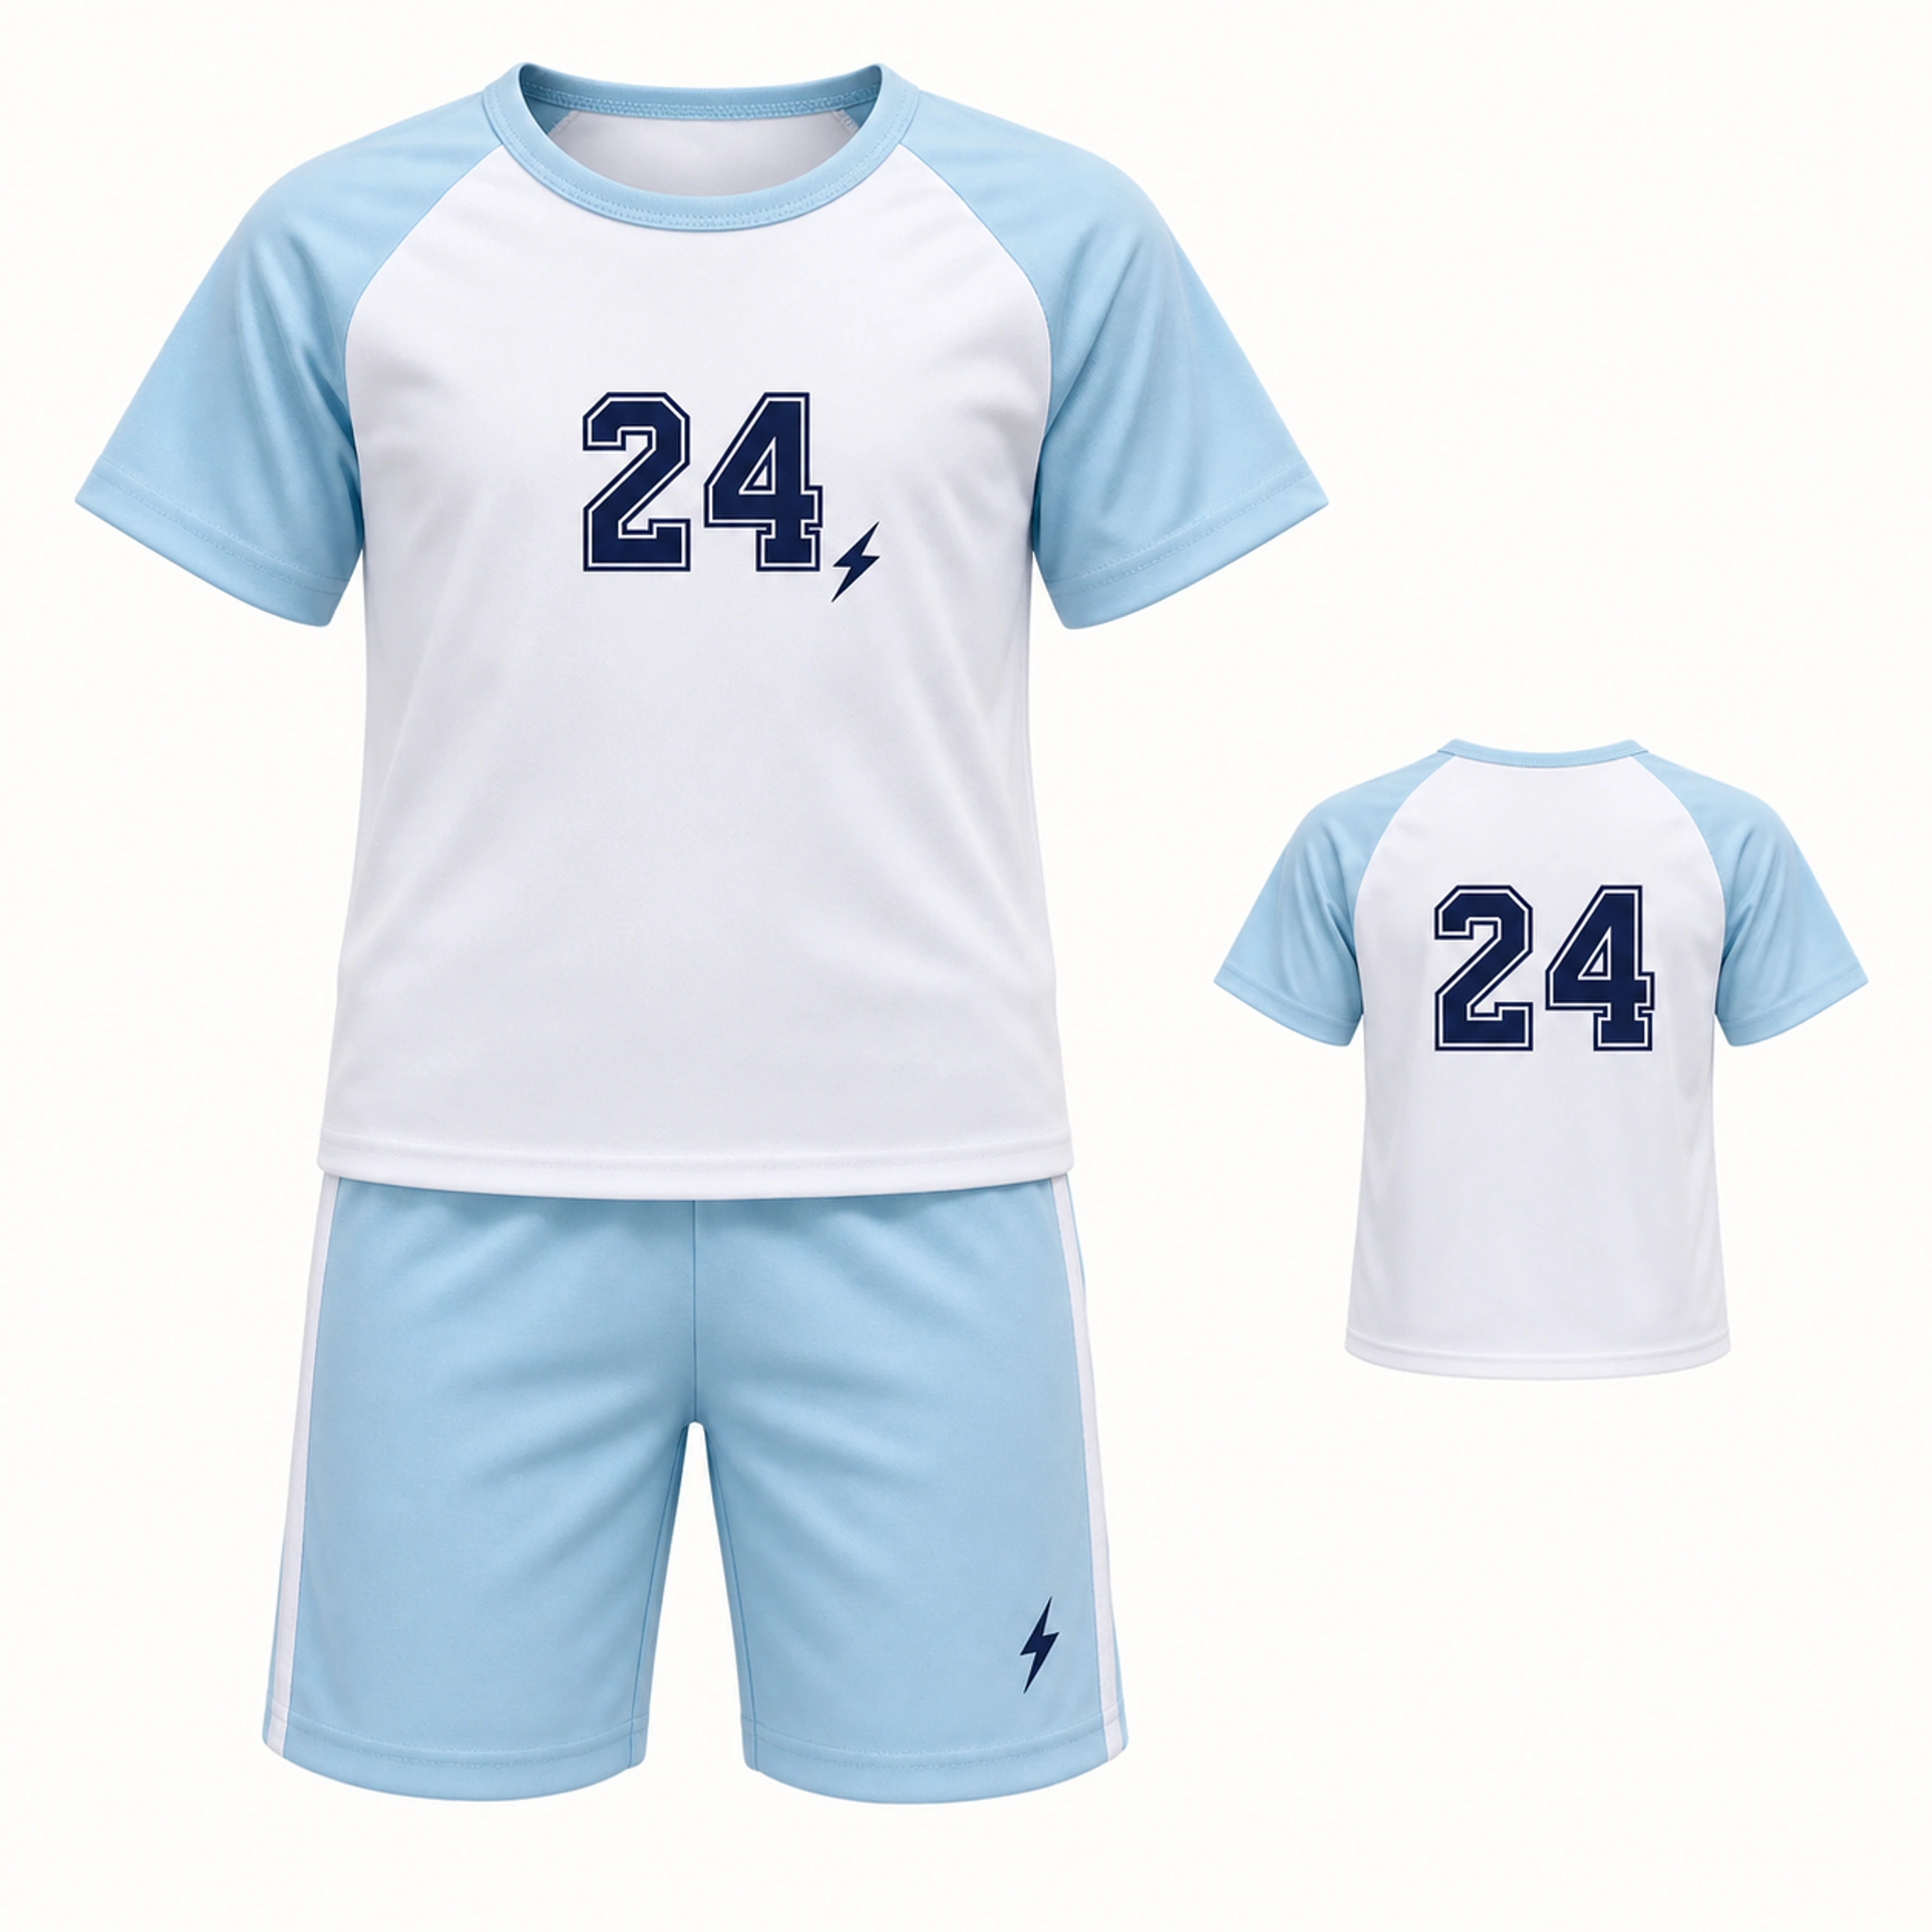
For left-chest plus back orders, the chest can carry a small class or club mark while the upper back carries larger shared wording. If each student has a name, decide whether it belongs on the front, back, or another approved position and apply that rule consistently.
- One shared type and color system
- A written rule for capitalization and name format
- A fixed position for shared artwork
- A fixed position for any wearer-specific field
3. Create a roster that can survive corrections
Use one row per garment, not one row per family. Include a non-sensitive coordinator reference or row number so repeated first names can be distinguished. Keep draft and final versions separate, and stop accepting informal changes once the final proof review begins.
| Field | Why it matters | Example format |
|---|---|---|
| Row ID | Distinguishes similar entries | C01, C02, C03 |
| Print name or role | Controls exact personalization | Maya / Team Captain |
| Style, color, size | Connects the wearer to the product | Youth tee / Navy / 140 |
| Quantity | Prevents assumed duplicates | 1 |
| Notes | Records an approved exception | No back name |
4. Verify sizes against the exact garment chart
Do not combine size charts from different products. Ask families to use the measurements listed for the selected garment and make the final choice themselves. If the group includes different styles, record the style and size together because the same numeric label may not represent the same measurements across garments.
When the roster closes, total quantities by style, color, and size, then compare those totals with the number of rows. This simple reconciliation catches missing sizes and accidental duplicates before the proof is approved.
5. Review the proof and plan distribution
One authorized coordinator should compare the proof with the final roster and school approval. Check shared marks, every personalized line, front/back placement, garment colors, sizes, and totals. If a name changes, request a corrected proof and roster version together.
Keep the row IDs or wearer references available when the order is distributed. Sorting first by class or group, then by size or row ID, is more reliable than opening packages and guessing from the printed name alone.
Put the guide into practice.
Use these pages to compare the relevant styles, process, and order policies.