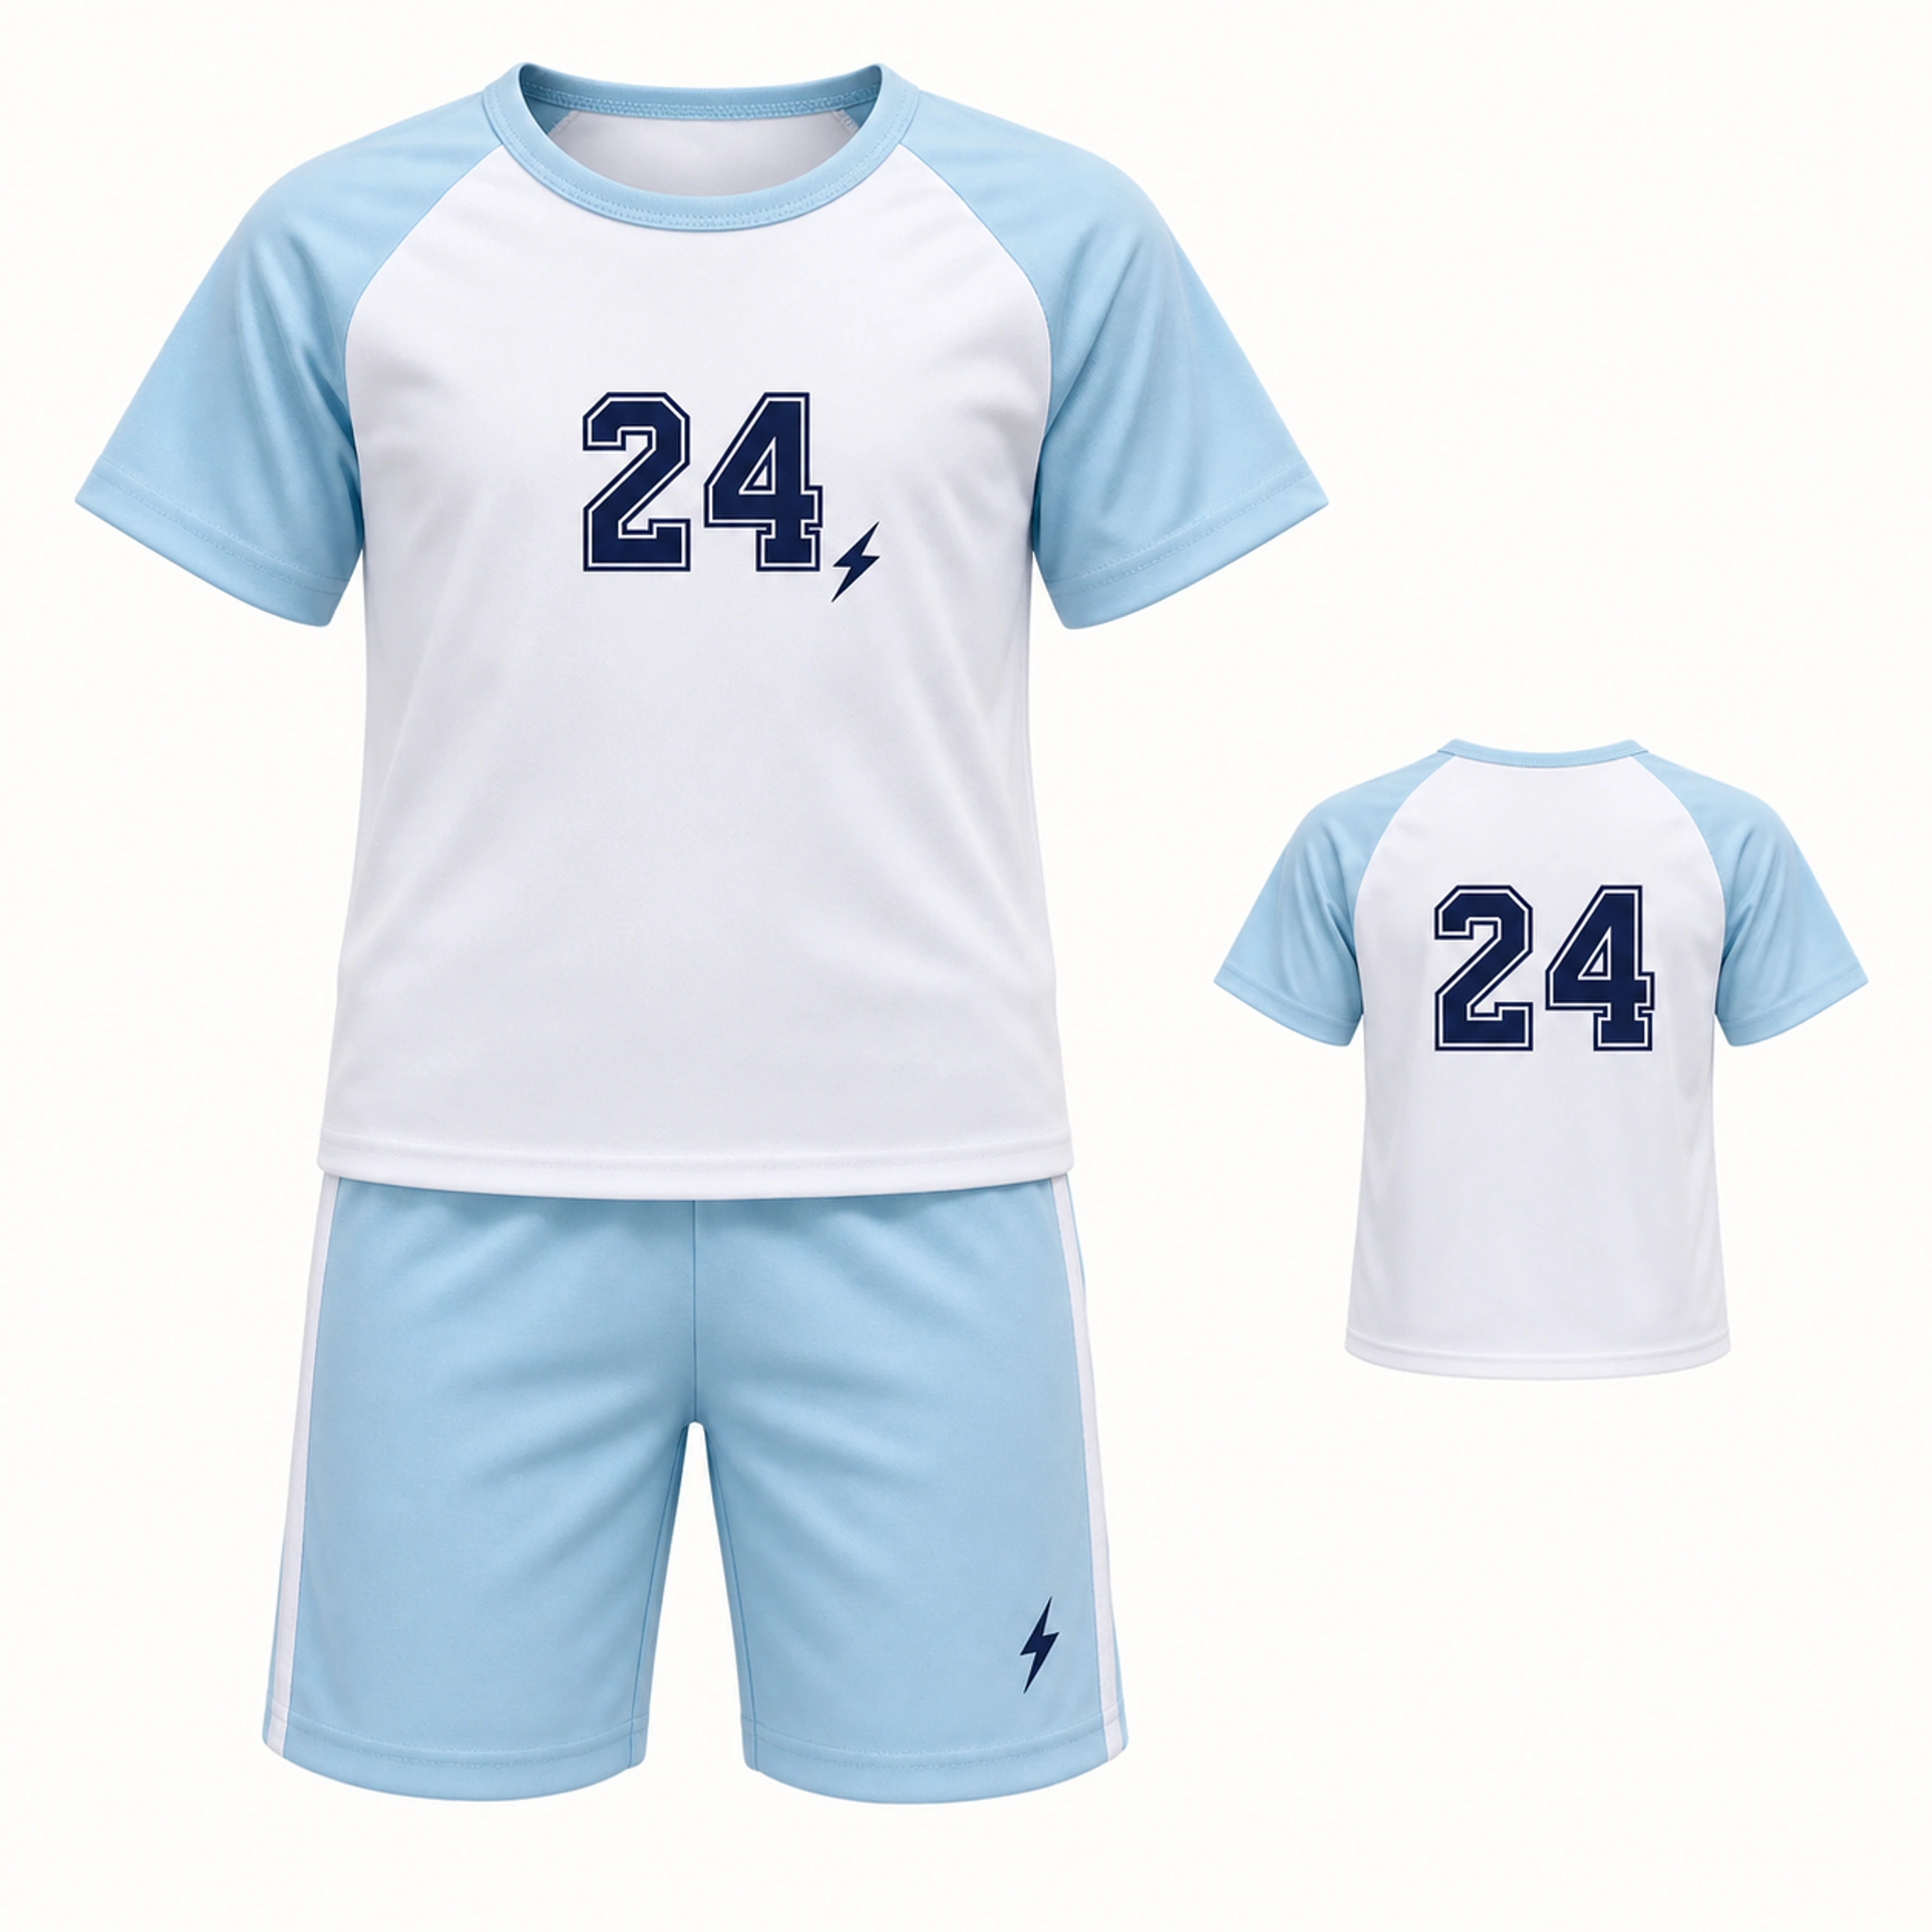
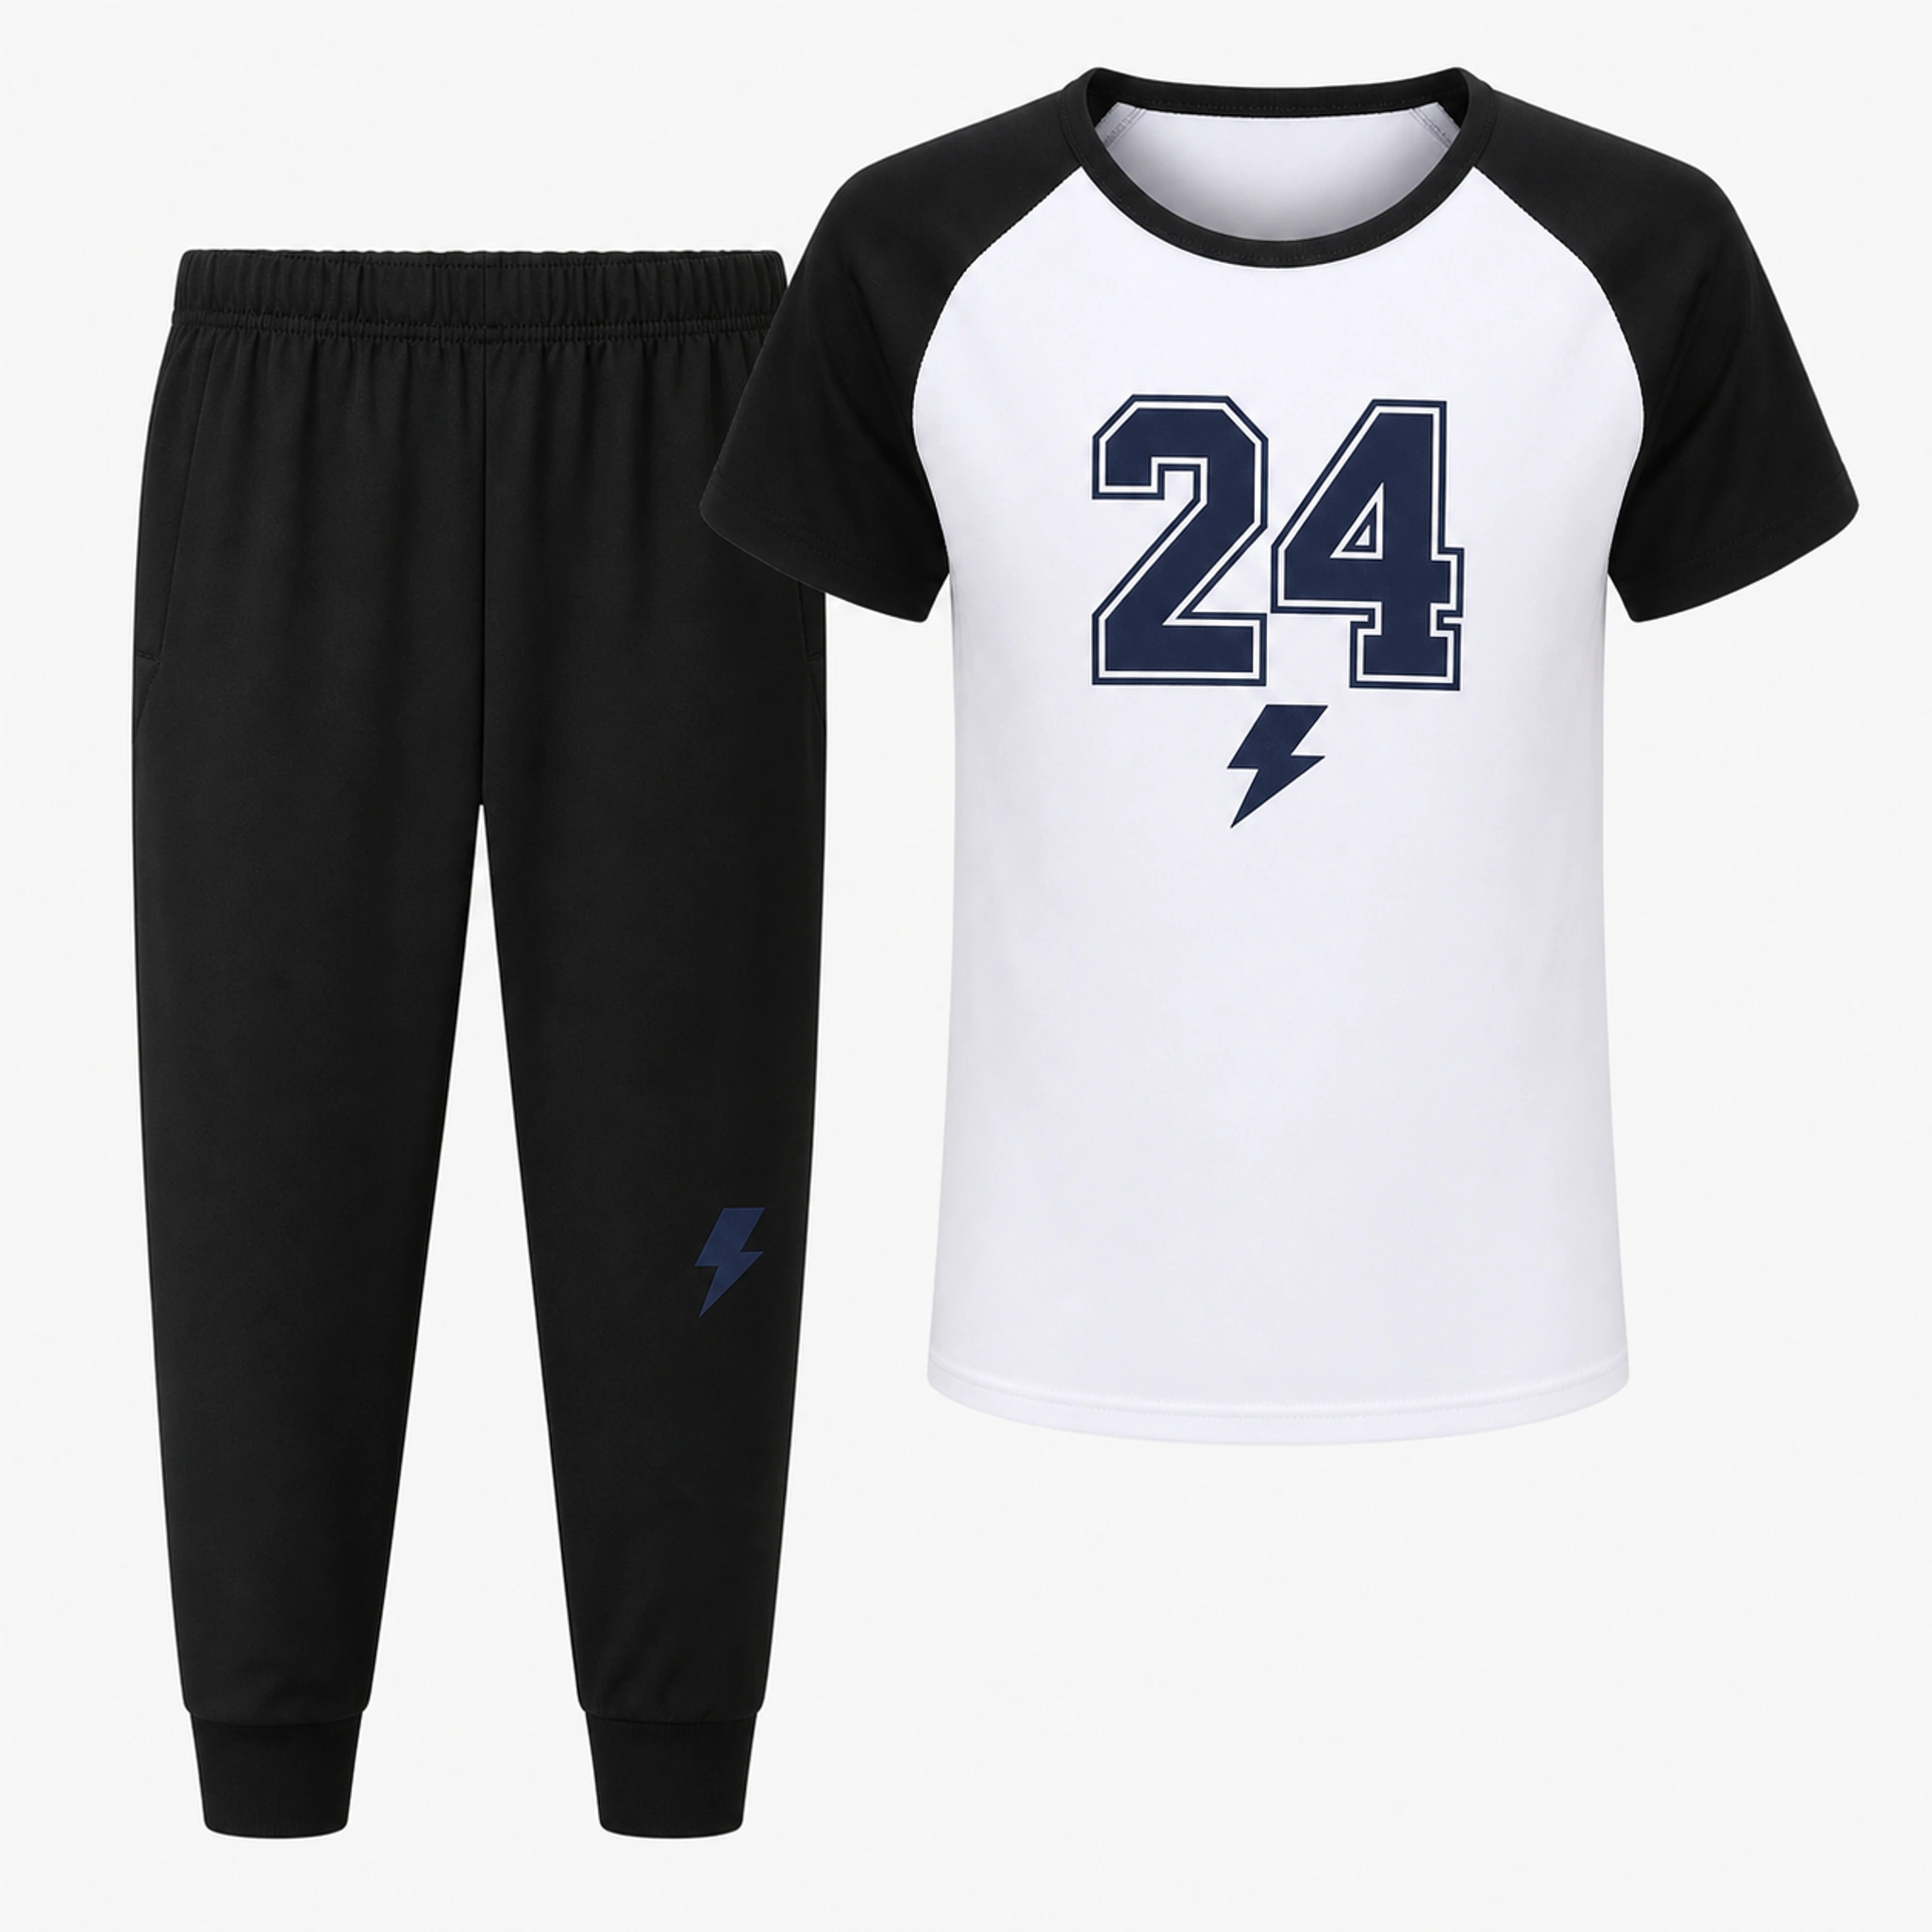
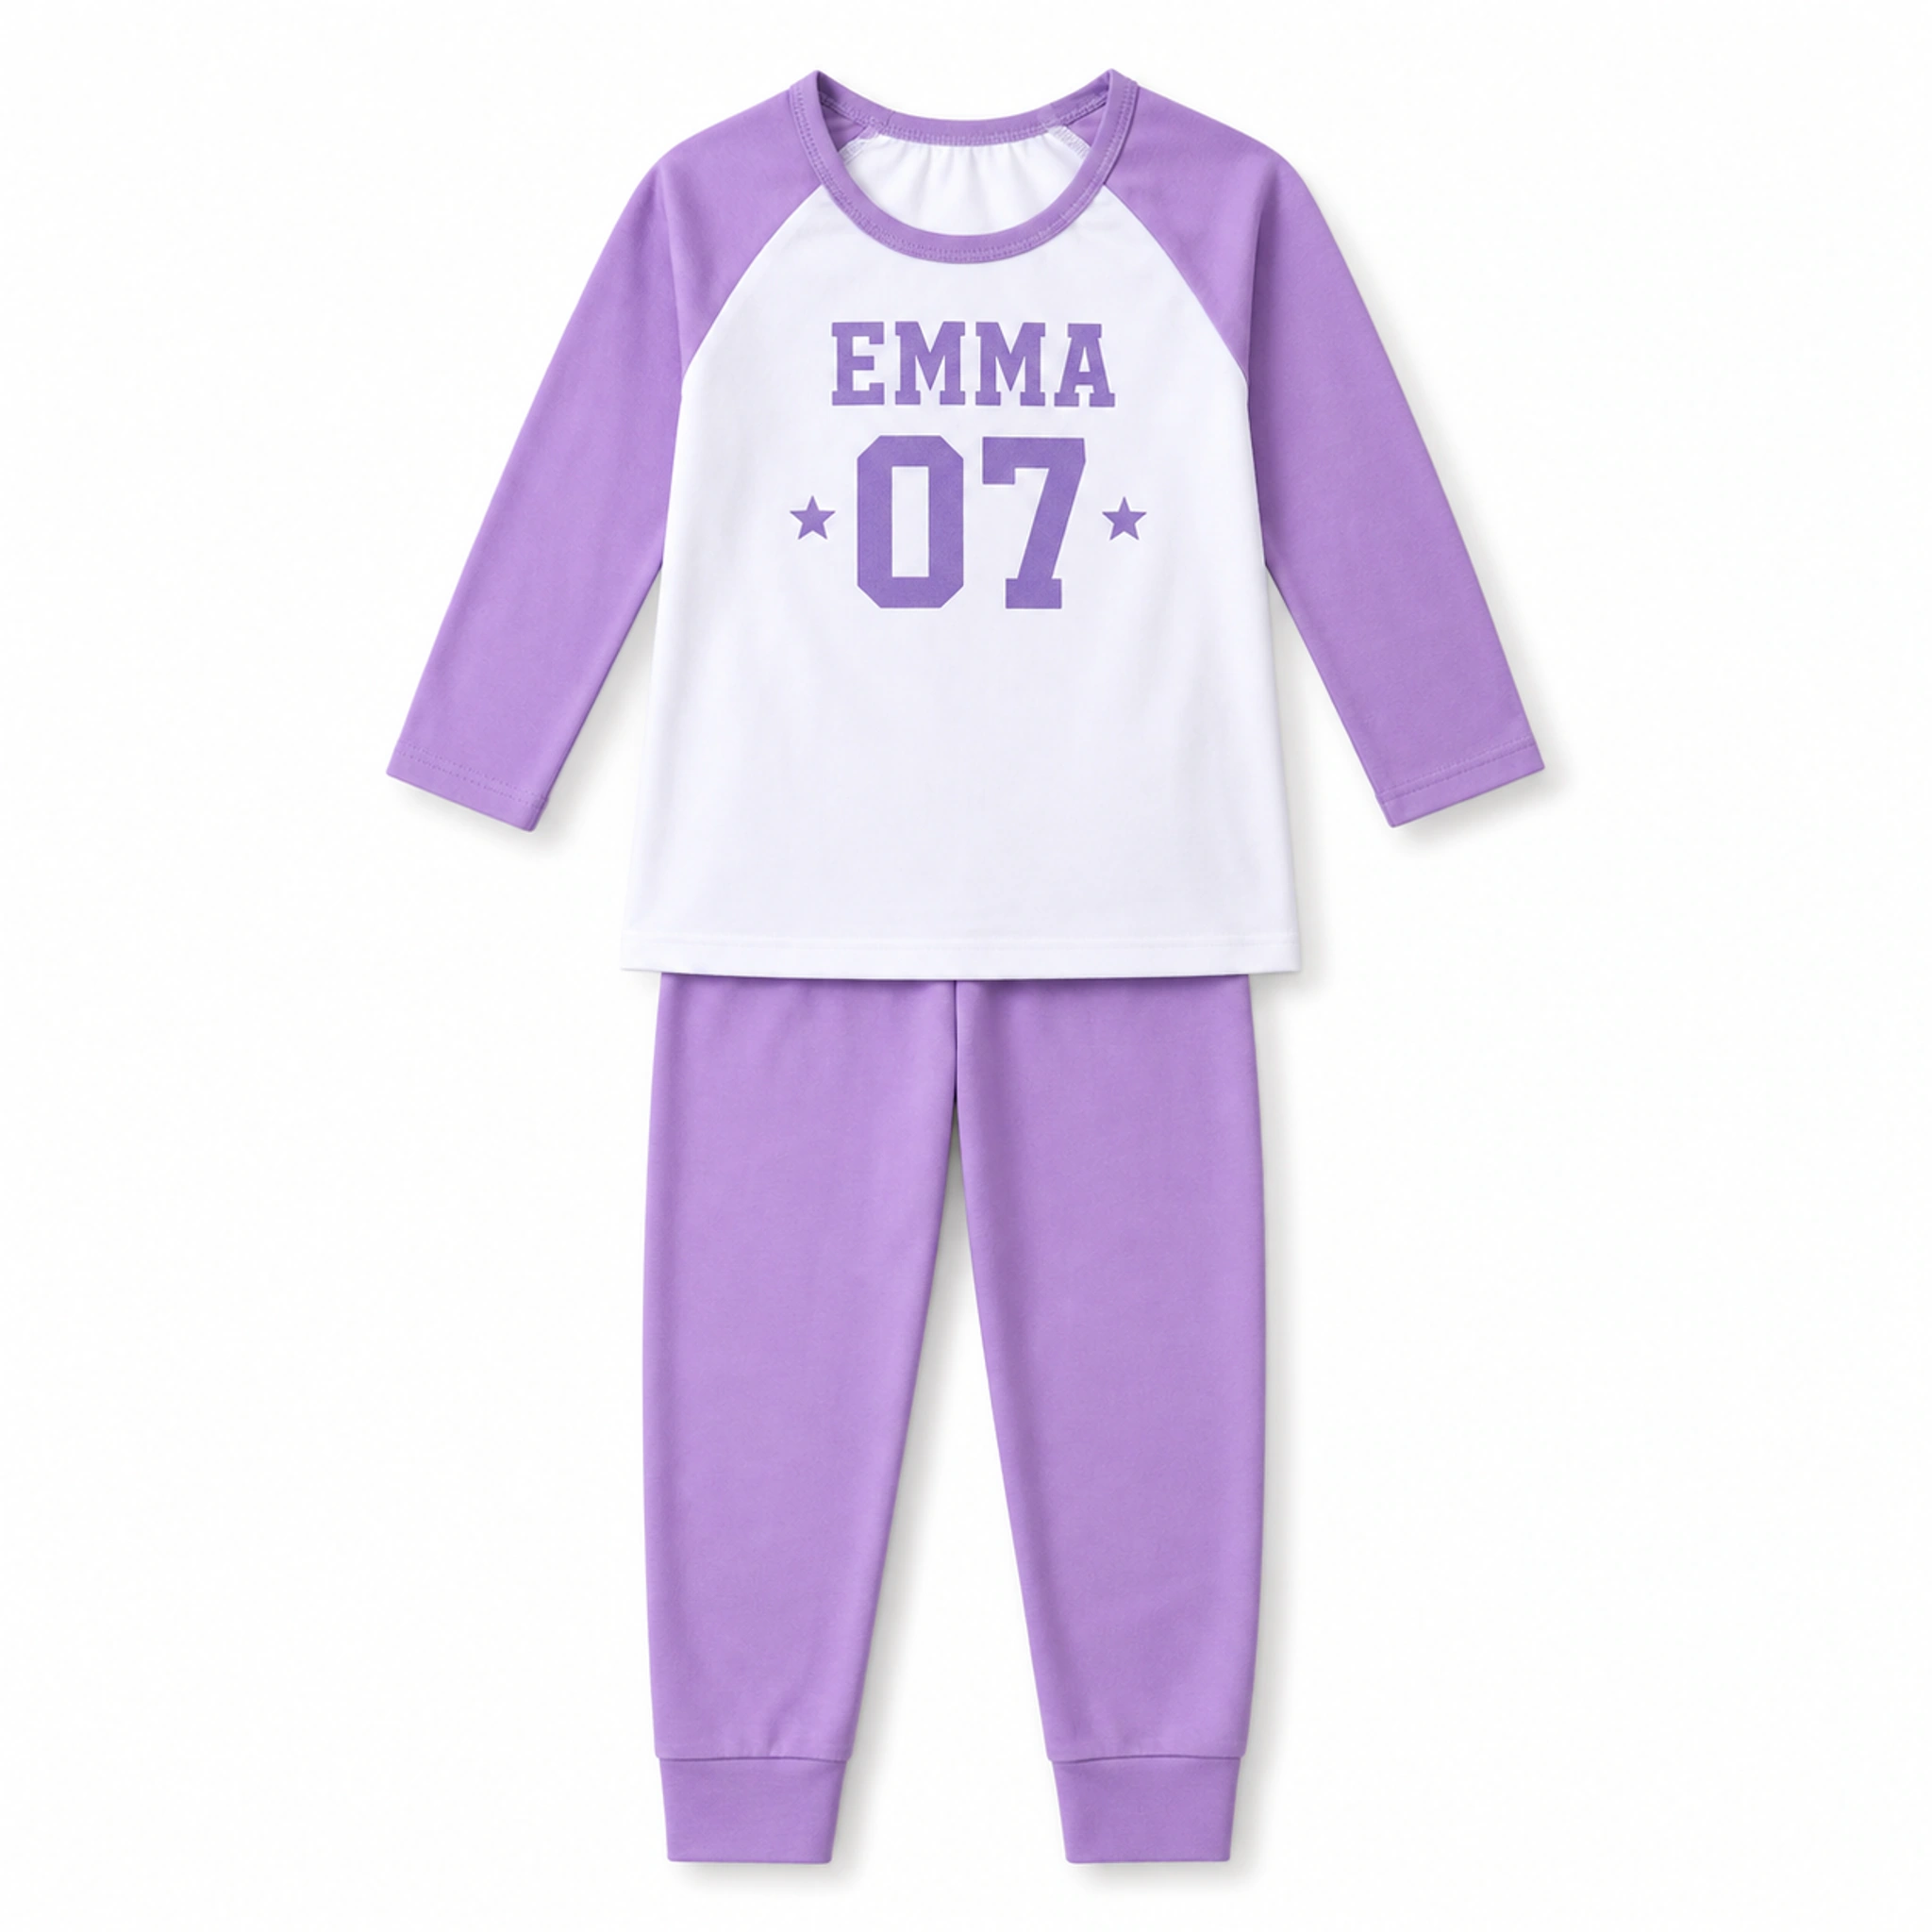
1. Understand what 'left chest' means
Left chest refers to the wearer's left side. In a front-facing product image, it normally appears on the viewer's right. This point causes avoidable confusion, so the proof and order notes should use the same wearer-based language.
A chest design usually works best as a compact mark: a short name, initials, number, role, small approved emblem, or simple event identifier. The usable area must stay inside the flat chest panel and away from armholes, collars, zippers, pockets, and seams.
2. Use the upper back for information that needs more room
The upper back can hold a larger team or class name, event wording, player name, or number. It is normally centered on a suitable flat panel below the collar. On hoodies and jackets, the design may need to sit below the point where the hood rests or adapt to panel seams.
More room does not mean unlimited text. Long phrases become smaller when forced into a fixed width, so shorten the message before reducing it to an unreadable size.
3. Compare the two positions by purpose
Choose the position based on what the viewer should notice first and how the garment will be worn. Front-only, back-only, and front-plus-back layouts can all work when each element has a clear job.
| Question | Left chest | Upper back |
|---|---|---|
| Best for | Compact identity or small mark | Larger shared message, name, or number |
| Typical viewing moment | Conversation and front-facing photos | Groups walking, performing, or lined up |
| Main constraint | Small flat area near seams and collar | Collar, hood, yoke seams, and garment width |
| Proof view needed | Front view | Back view with hood position considered |
4. Pair front and back without repeating everything
A useful two-position layout divides information. For example, the left chest can show a first name or small group mark, while the upper back carries the event, school, team, or family wording. Repeating the full design on both sides can add visual weight without improving recognition.
For personalized groups, define which fields change by wearer. A shared back design with individual chest names requires a different roster structure from shared chest artwork with individual back numbers.
5. Check placement in the proof
Look at the exact garment color and construction, then check distance from the collar, center line, zipper, seams, pockets, and sleeve join. Confirm that the design is level and that its scale suits both the garment and the amount of text.
- The proof labels wearer-left chest correctly
- The back design sits below the collar or resting hood
- No text crosses a zipper, seam, pocket, or strongly curved panel
- Names and numbers remain readable at the shown scale
- Front and back content match the final roster
Put the guide into practice.
Use these pages to compare the relevant styles, process, and order policies.