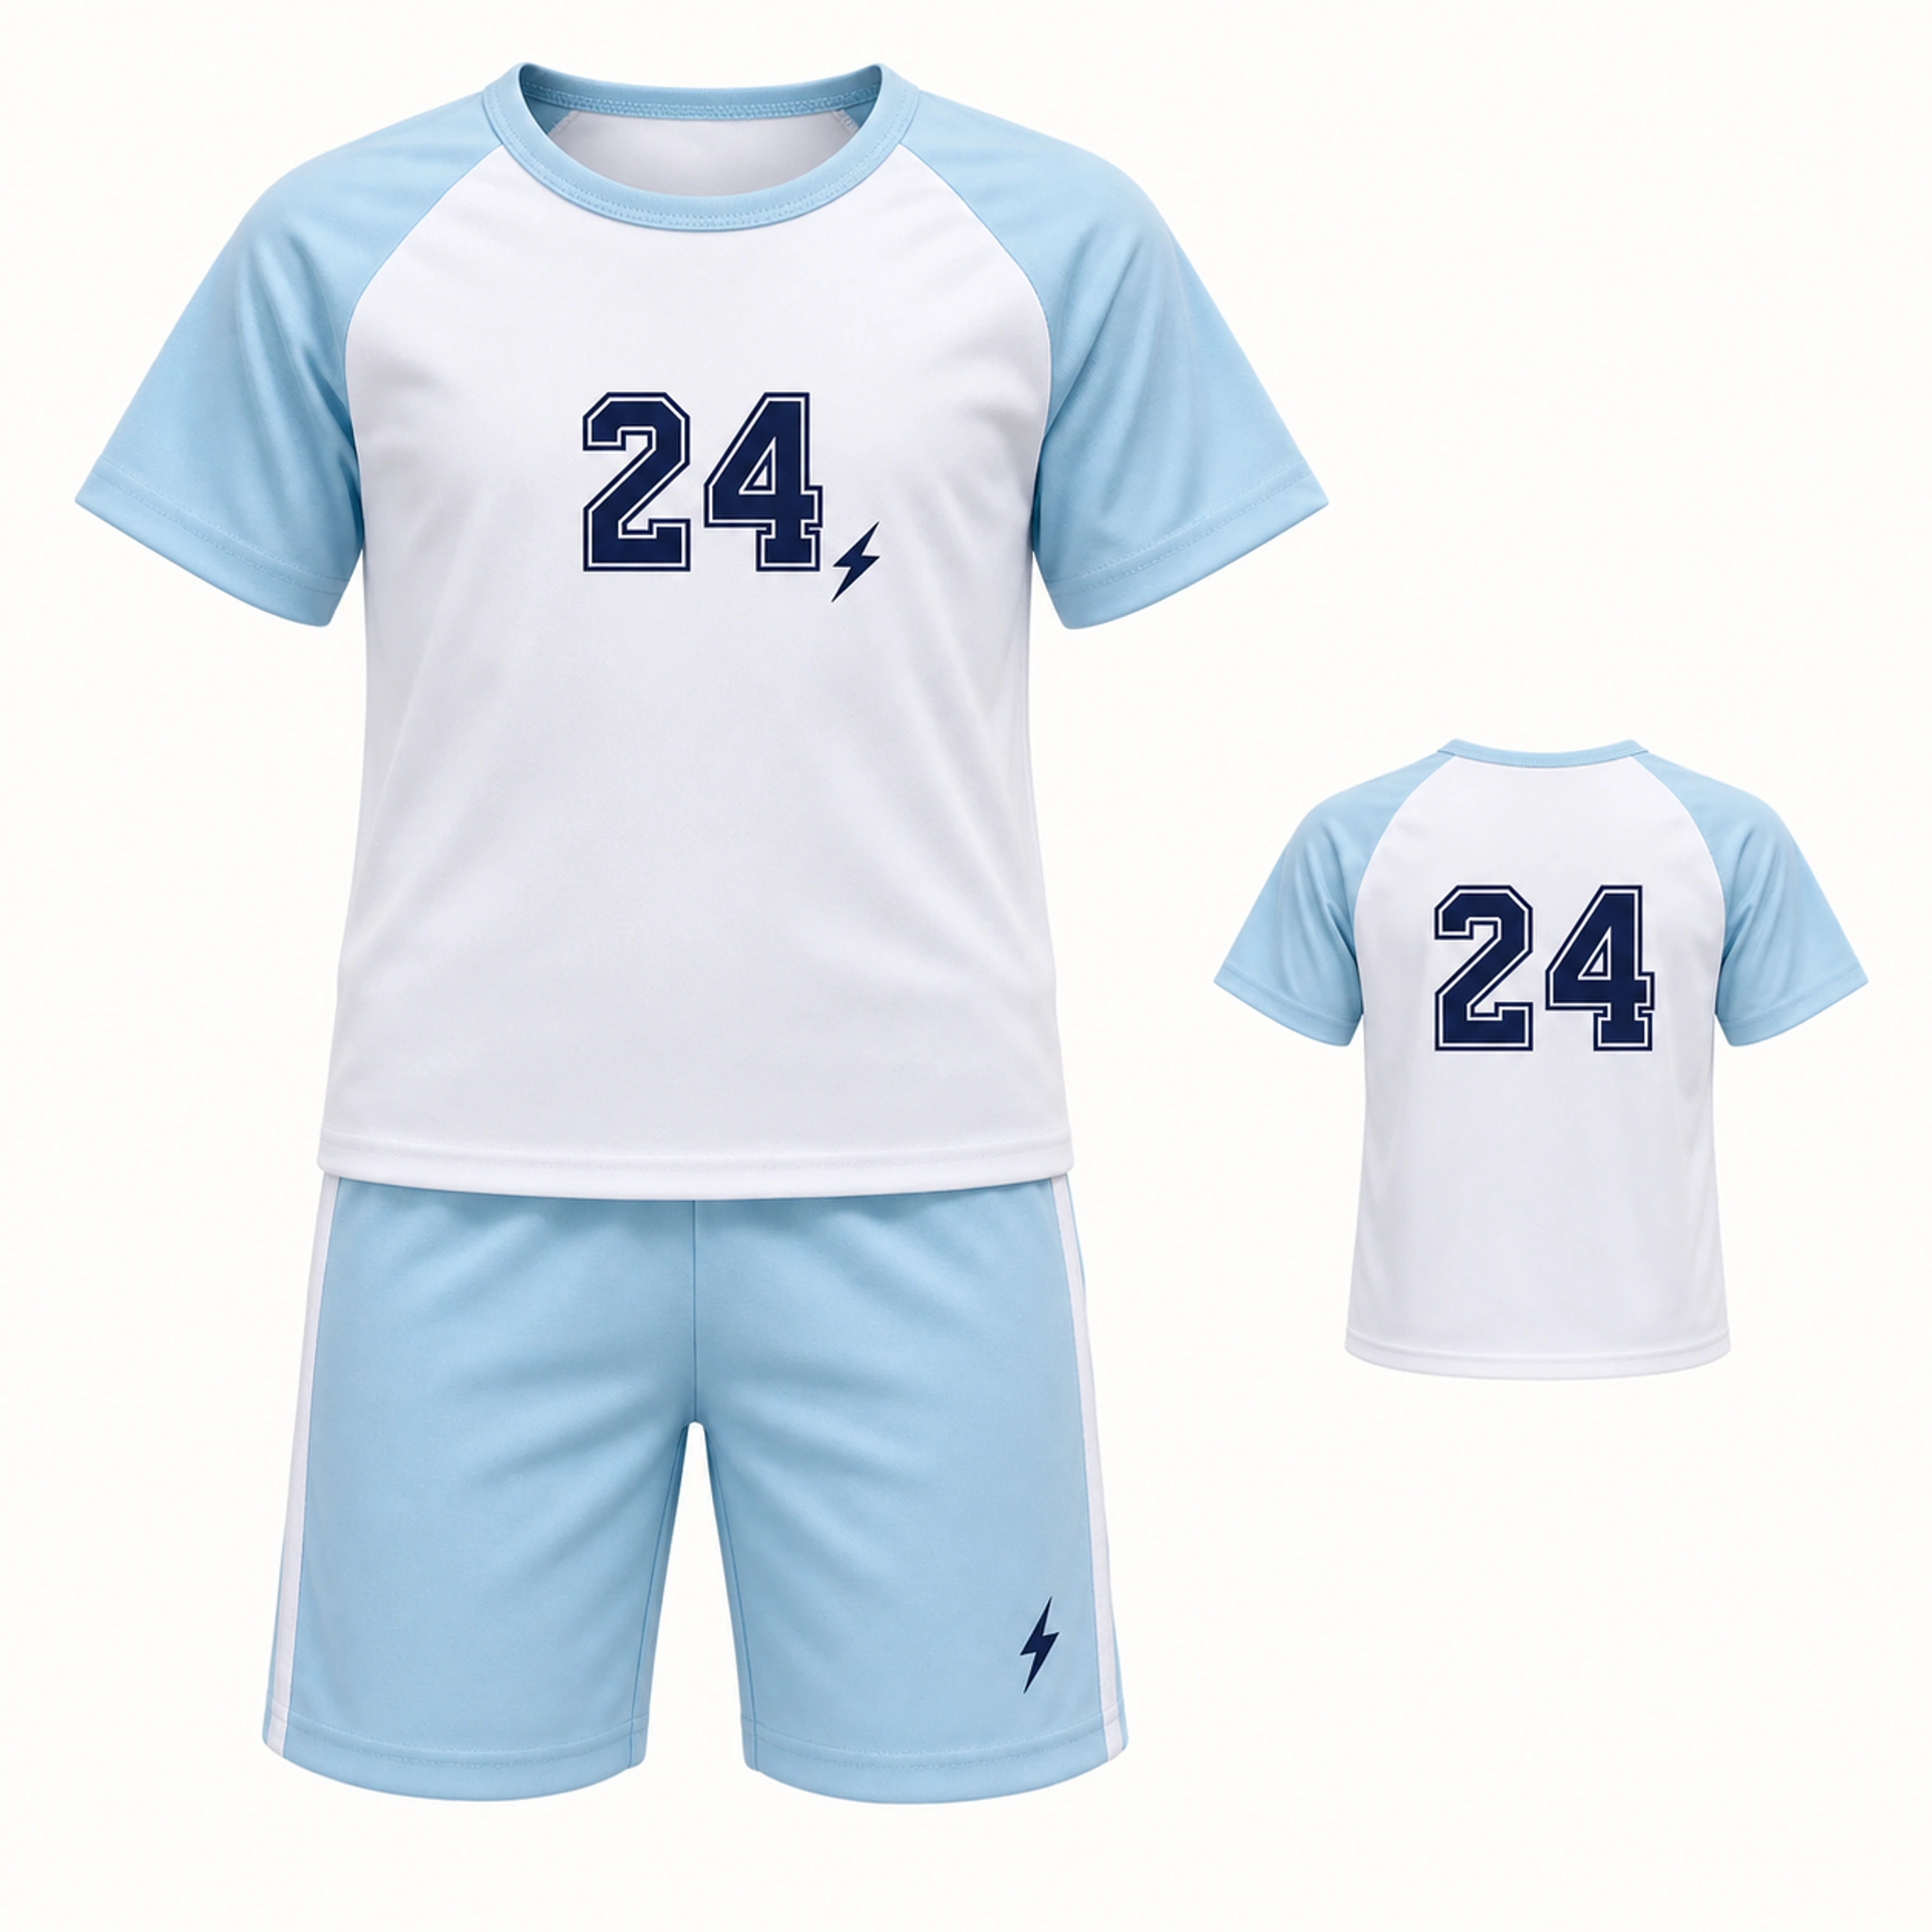
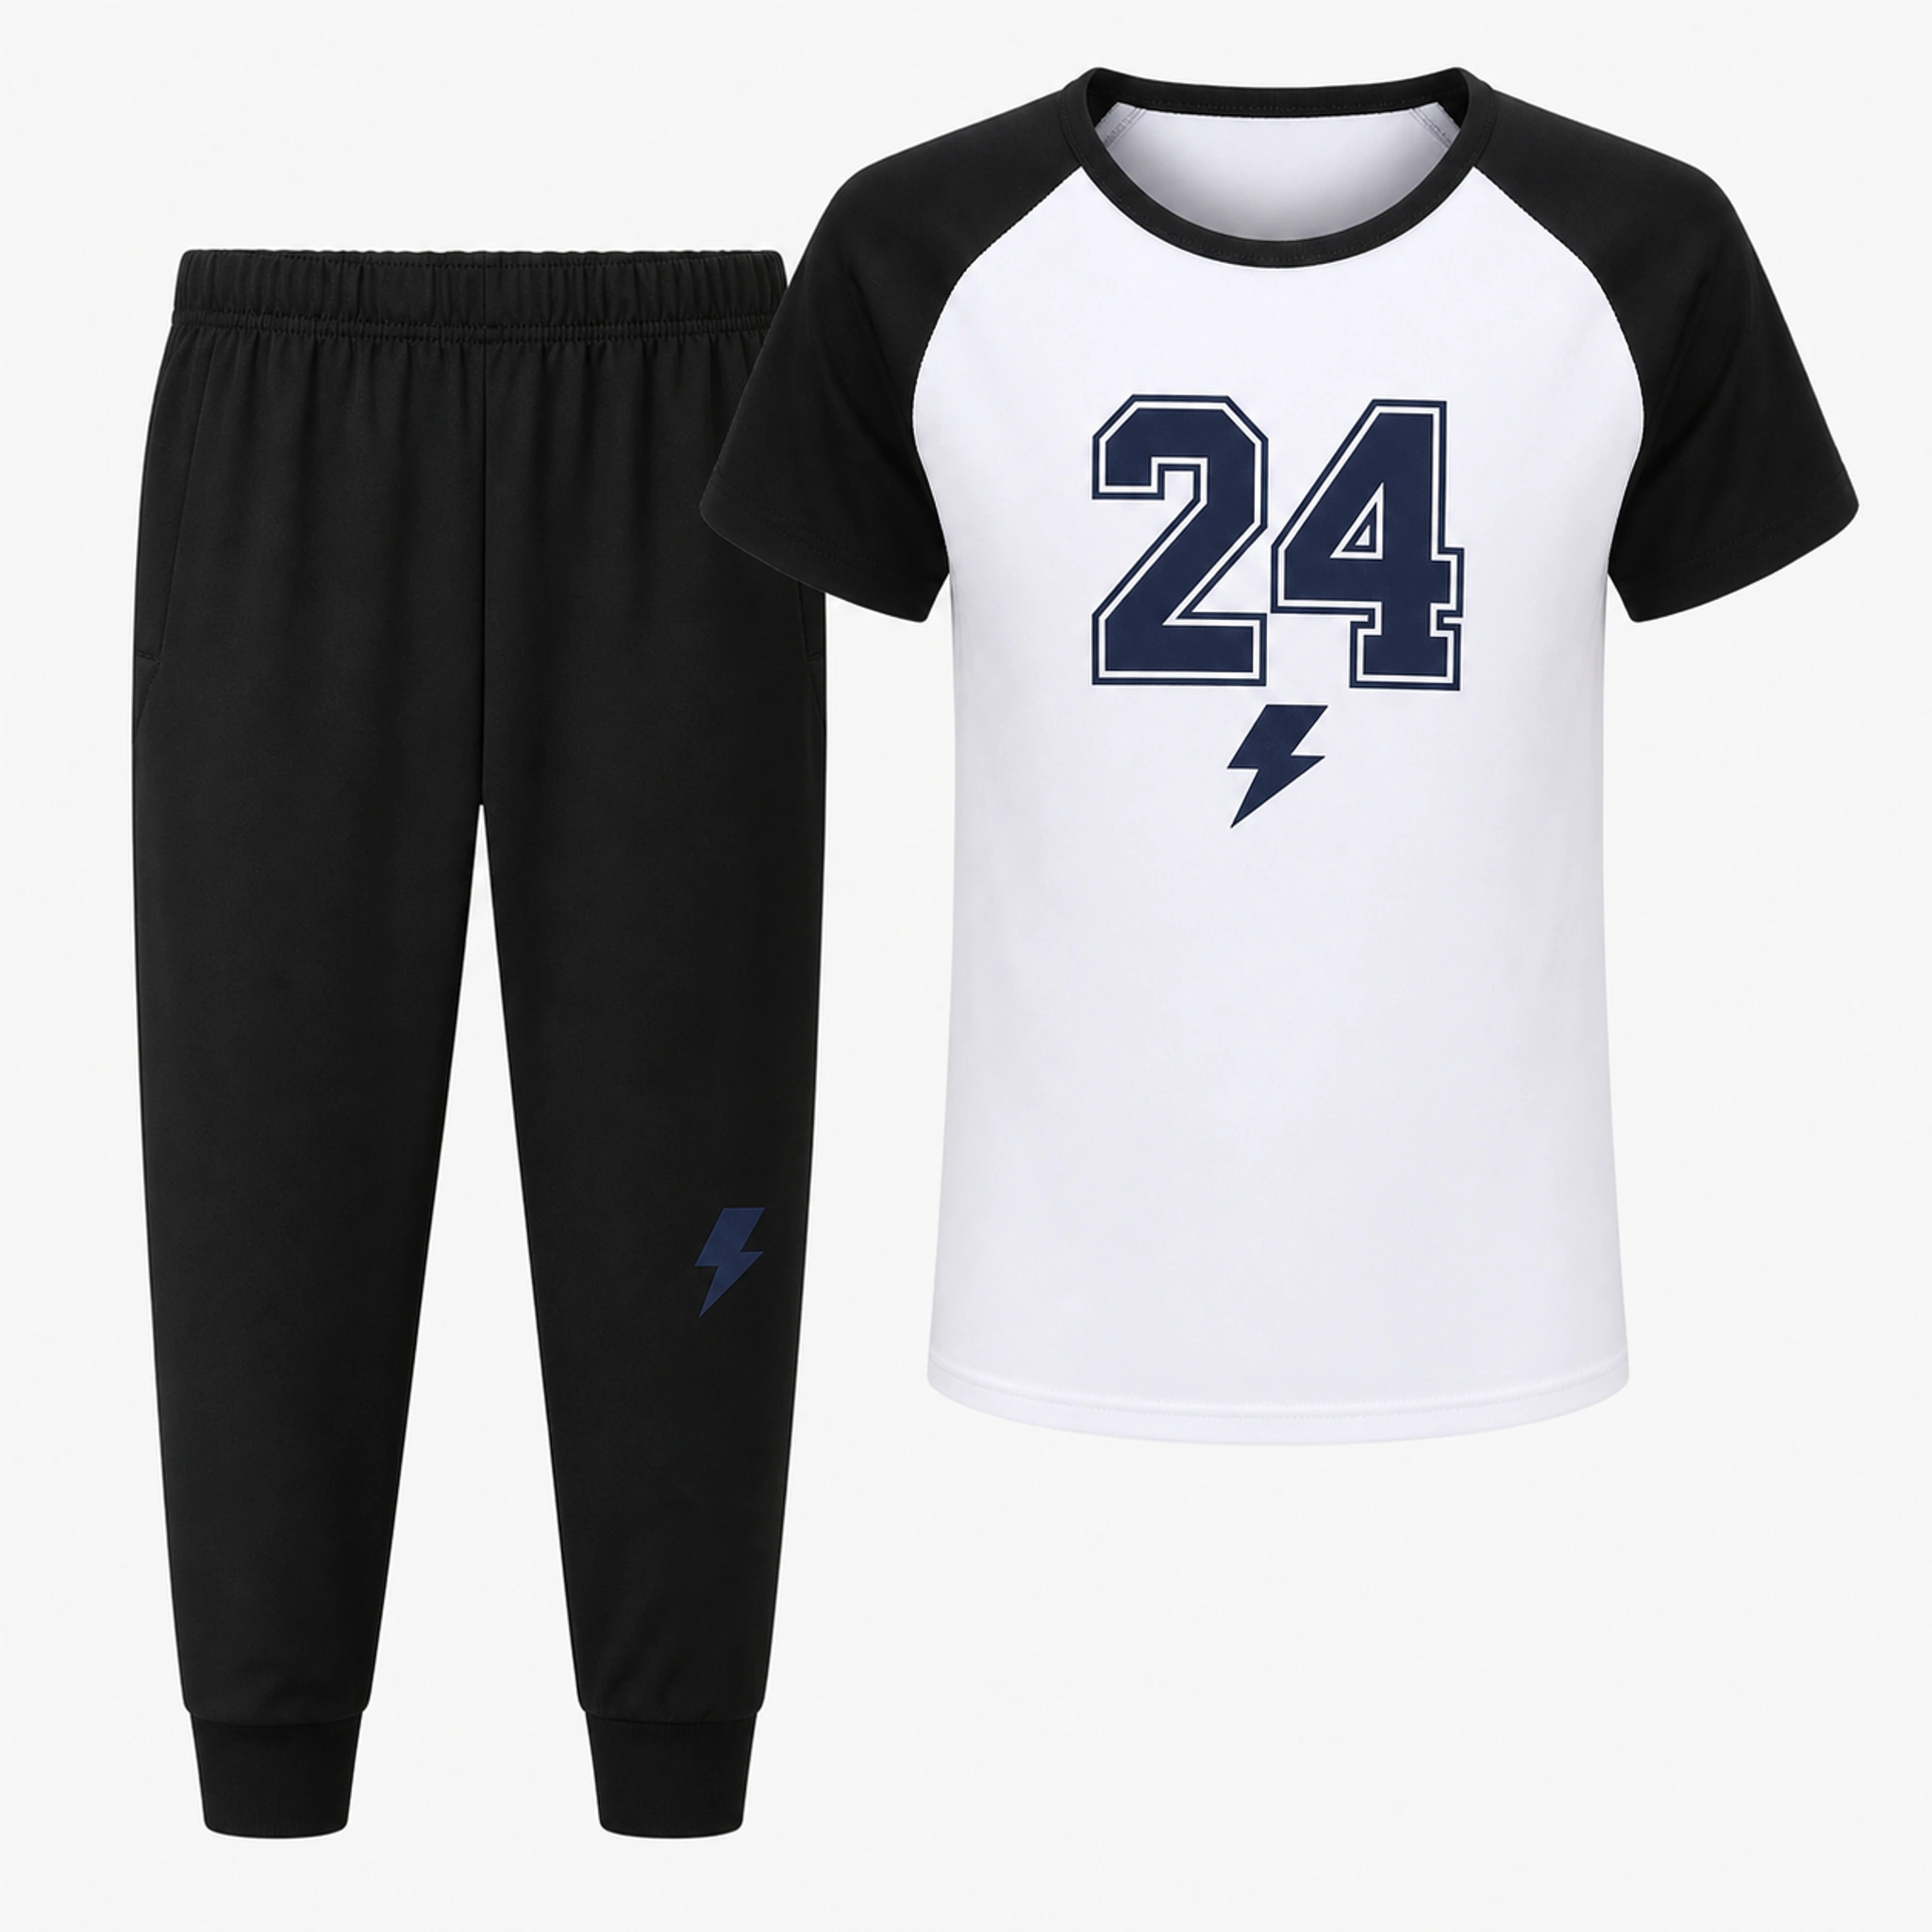
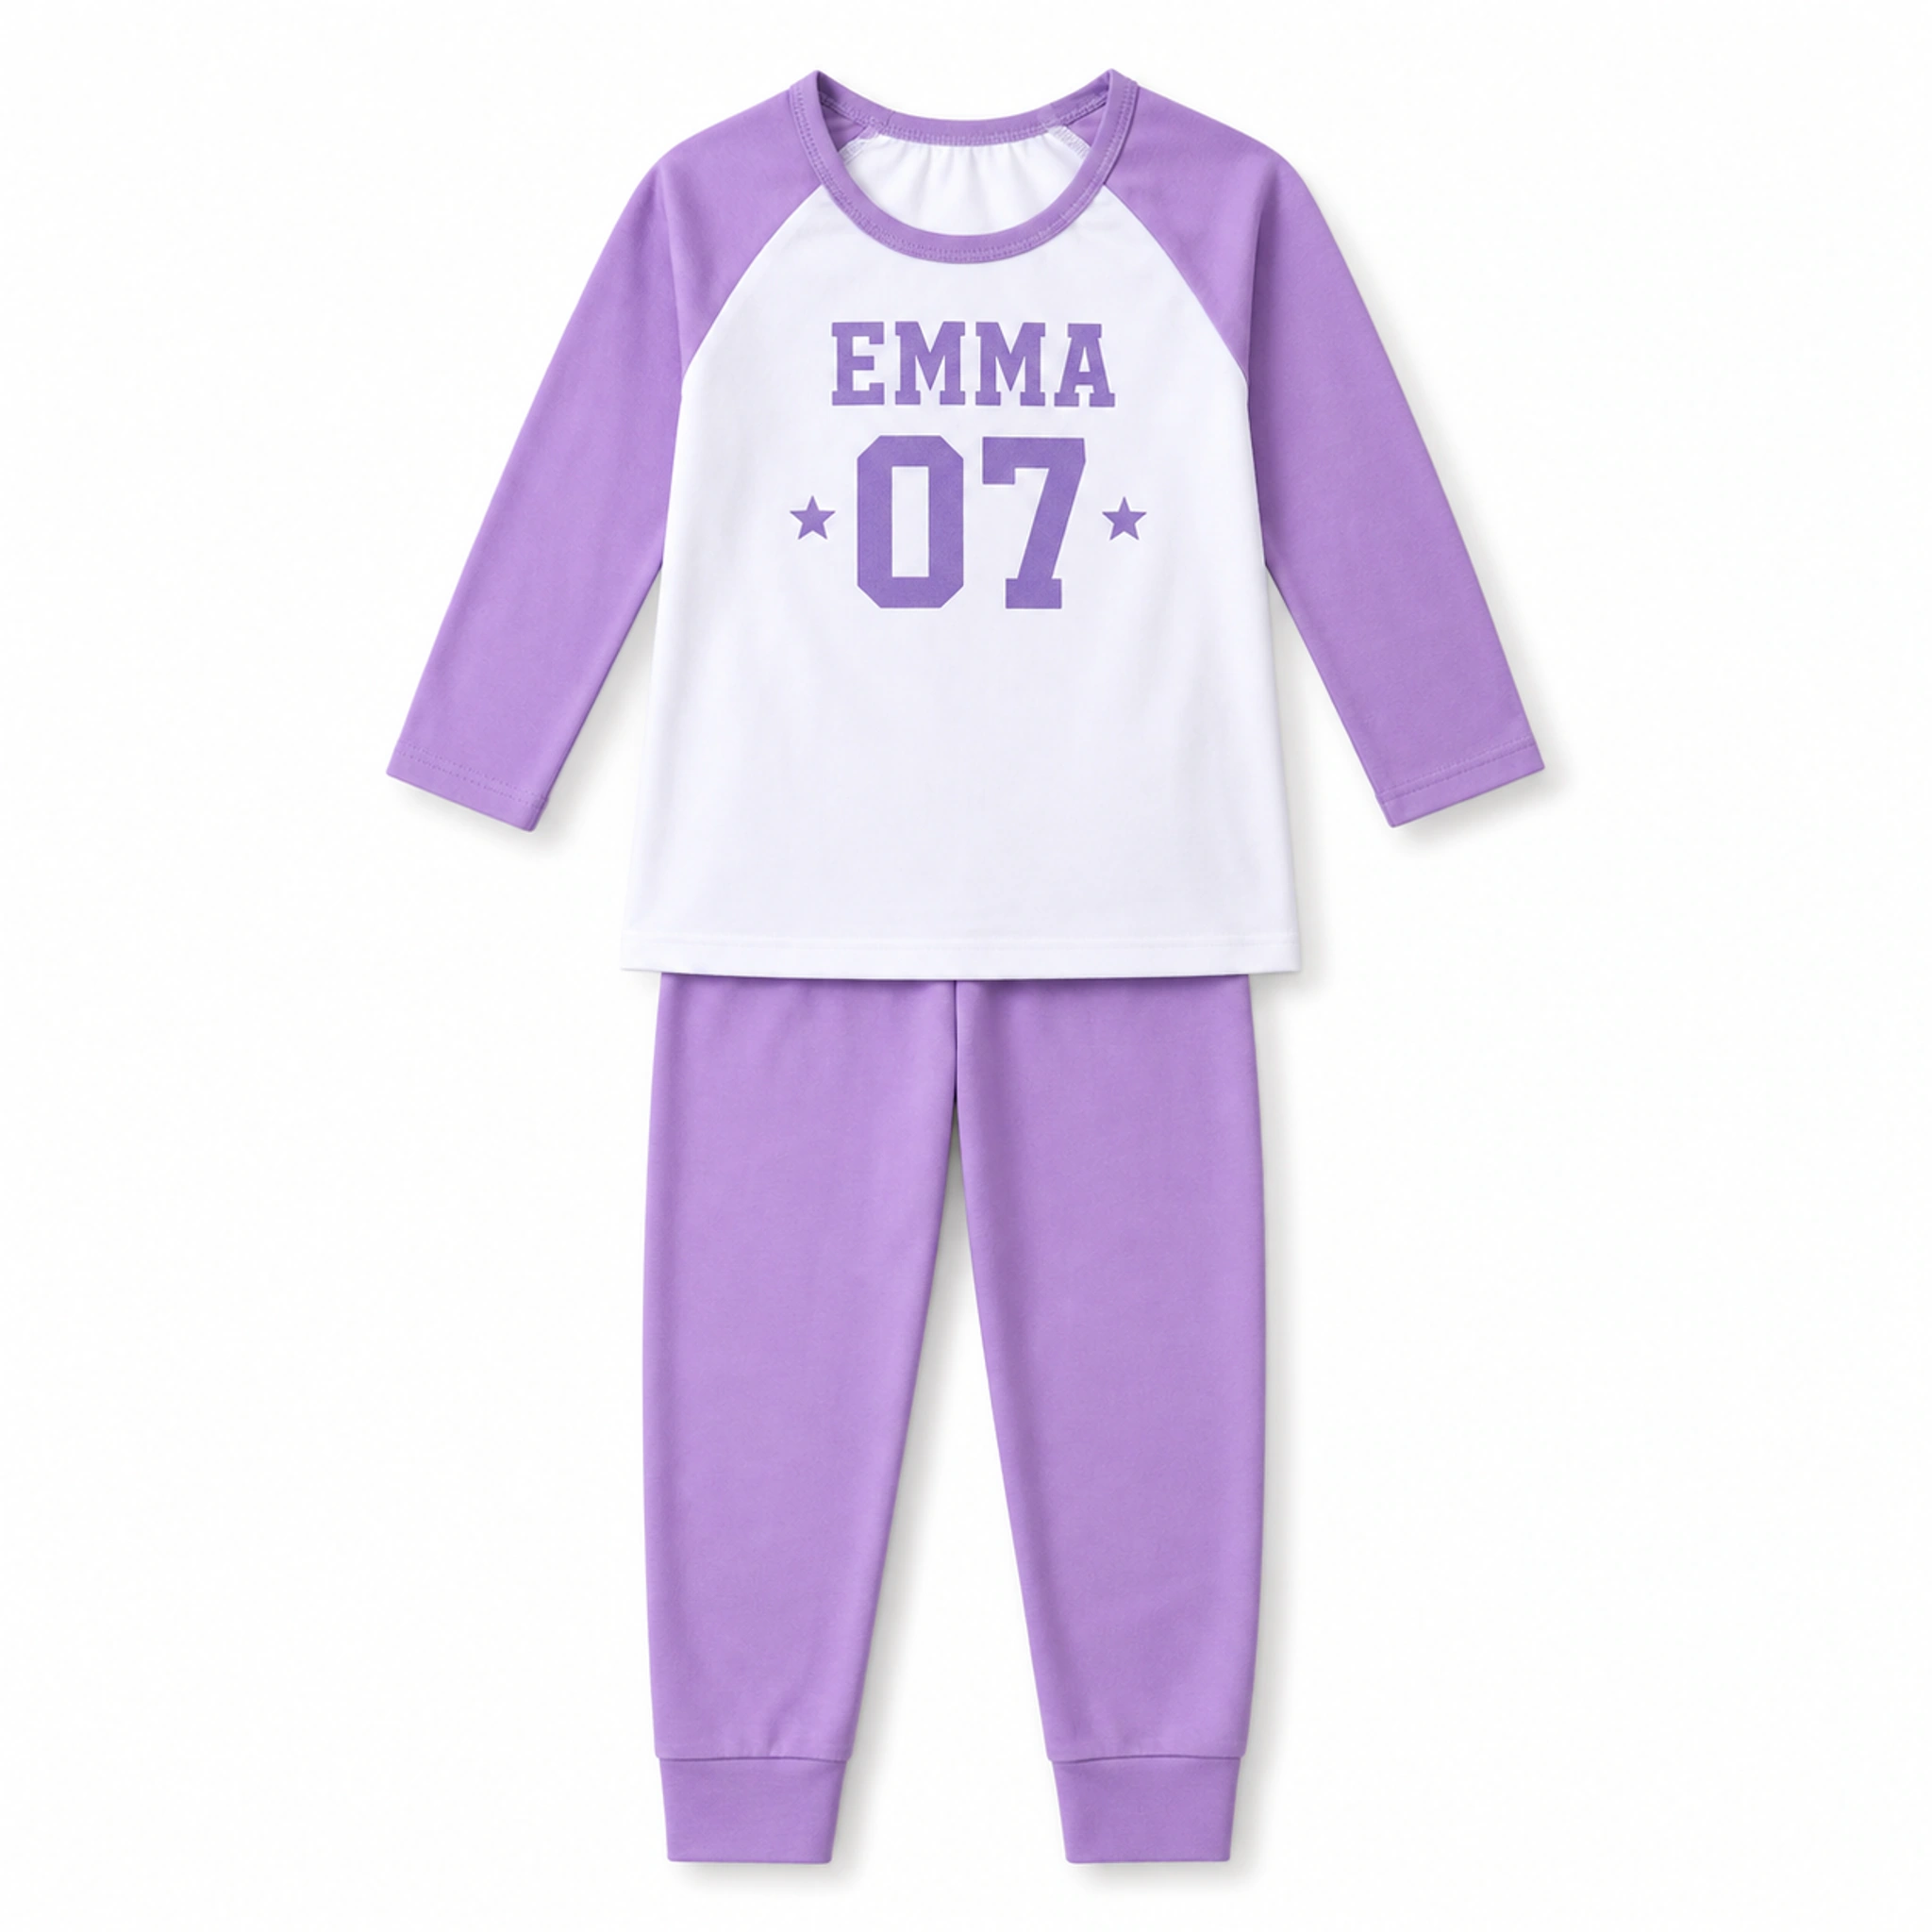
1. Define whether the garment is for play, travel, or events
A performance garment may need sport-specific construction and league approval, while a team tee, warm-up set, hoodie, or jacket may be intended for travel, training, photos, or club events. State the use clearly so appearance is not mistaken for technical suitability.
Check the product description and available sizes for the exact style. If the garment must meet a league, school, safety, or competition rule, the organizer is responsible for confirming that requirement before ordering.
2. Standardize names and numbers before artwork begins
Decide whether the roster will use first names, surnames, nicknames, initials, or roles. Use one capitalization rule and one number format. Similar names should have distinct row IDs so the coordinator can match each garment to the correct player without sharing extra personal information.
- Print name exactly as approved
- Player number with leading zeros preserved if required
- Garment style, color, size, and quantity
- Front detail, back detail, and any approved exception
3. Choose placement around the garment construction
A small team mark can work on the wearer-left chest, with a player name or larger shared message on the upper back. On jackets and hoodies, the print area may be affected by zippers, pockets, seams, cords, or a resting hood. Placement must be reviewed on the exact garment view, not copied blindly from a T-shirt mockup.
If front and back use different information, label both in the brief. The wearer-left chest appears on the viewer's right in a front-facing mockup, a detail worth checking before approval.
4. Reconcile the roster with the order totals
After sizes are collected, group the rows by product, color, and size and compare the resulting totals with the planned order quantity. Then compare the list of names and numbers with the proof. This catches two different error types: a correct print list attached to the wrong quantity, or correct quantities attached to an outdated print list.
Freeze
Mark one roster version as final and stop accepting changes in separate messages.
Total
Count by style, color, and size, then compare the sum with roster rows.
Proof
Check every name, number, placement, and shared mark.
Distribute
Keep row IDs with the sorting plan when the order arrives.
5. Make late changes visible
If a player joins, leaves, changes number, or changes size, update the master roster and request a new order summary or proof as needed. A message such as 'change Alex to 12' is ambiguous when the roster contains more than one Alex or when size and number are stored separately.
Keep the approved proof and final roster together. They create a shared reference for production questions and for the coordinator who distributes the garments.
Put the guide into practice.
Use these pages to compare the relevant styles, process, and order policies.